Quantcast
Channel: Pretty Pink Posh – Nina-Marie Design
Viewing all 123 articles
Browse latest View live

Confetti Shaker

$
0
0

Well hello there and Happy Friday! Today I have a fun shaker card to share with you featuring stamps from Newton’s Nook Designs!

Bunny_550

And did you know that Newton’s Nook is having a special naming vote for the adorable little bunny that is featured in many of their previous stamp sets?? Be sure to read through to the end of this post to find out how YOU can help us name this cute little girl!!

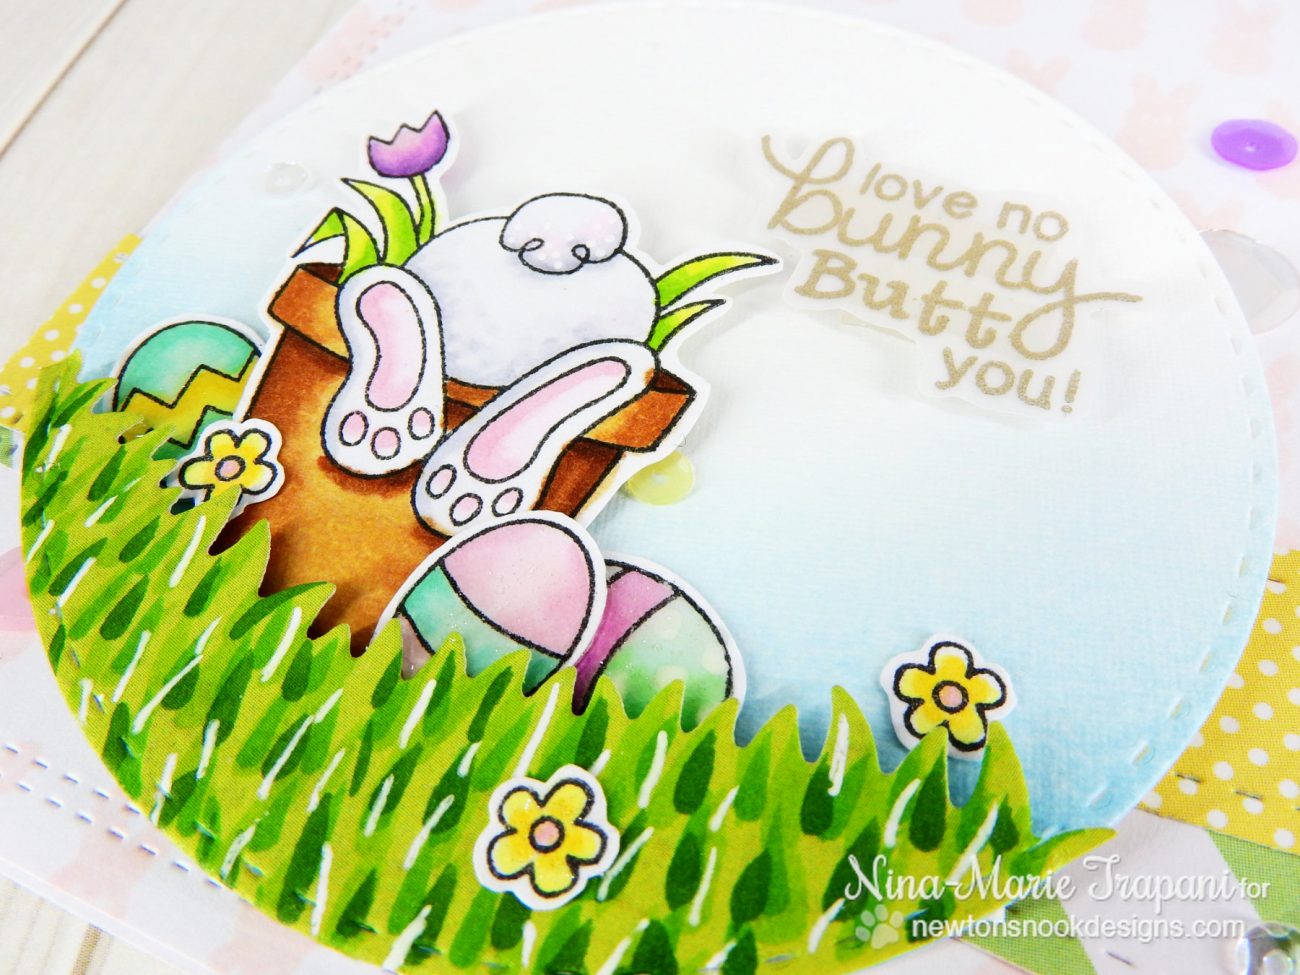
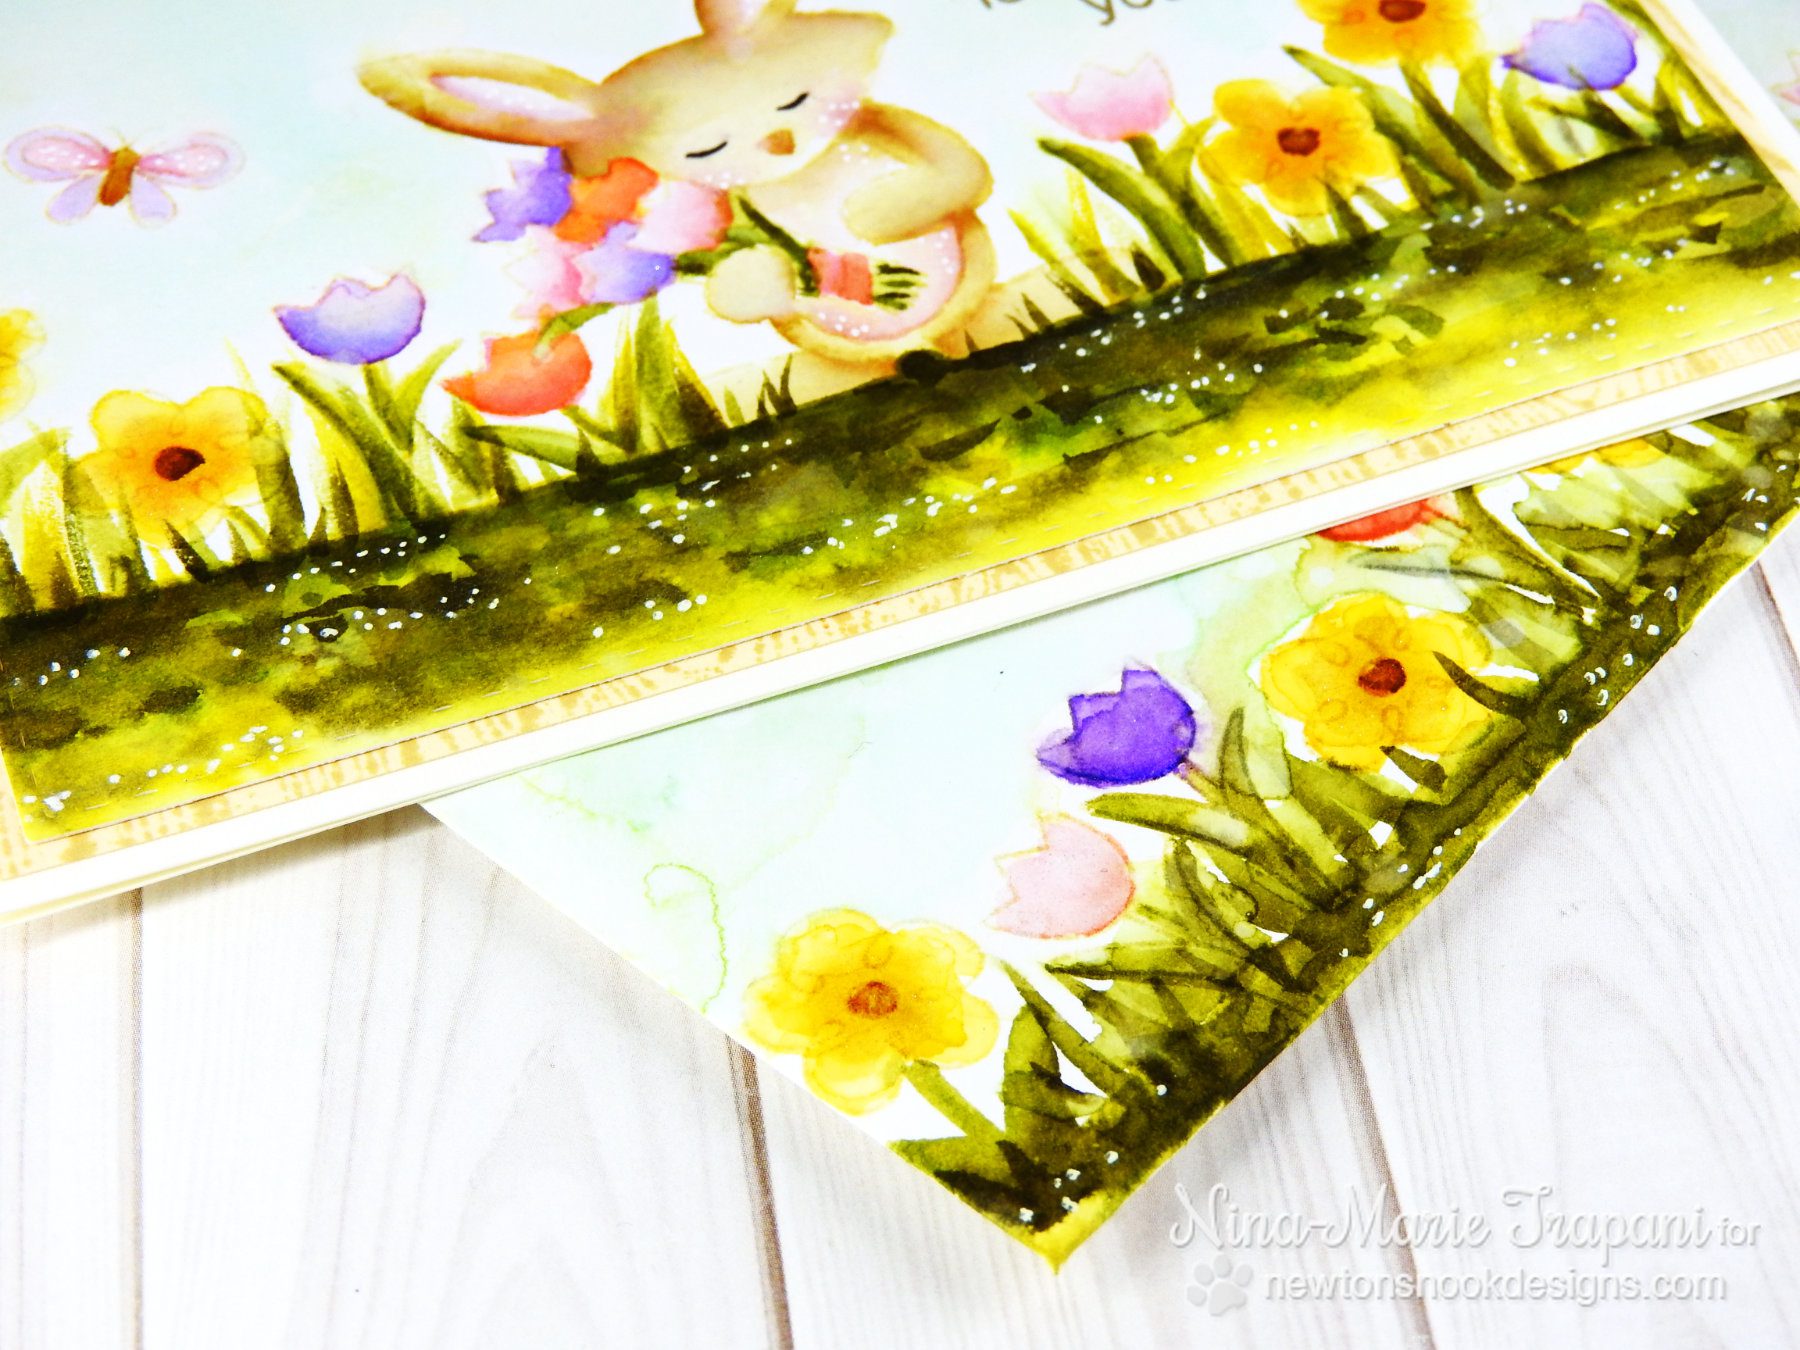
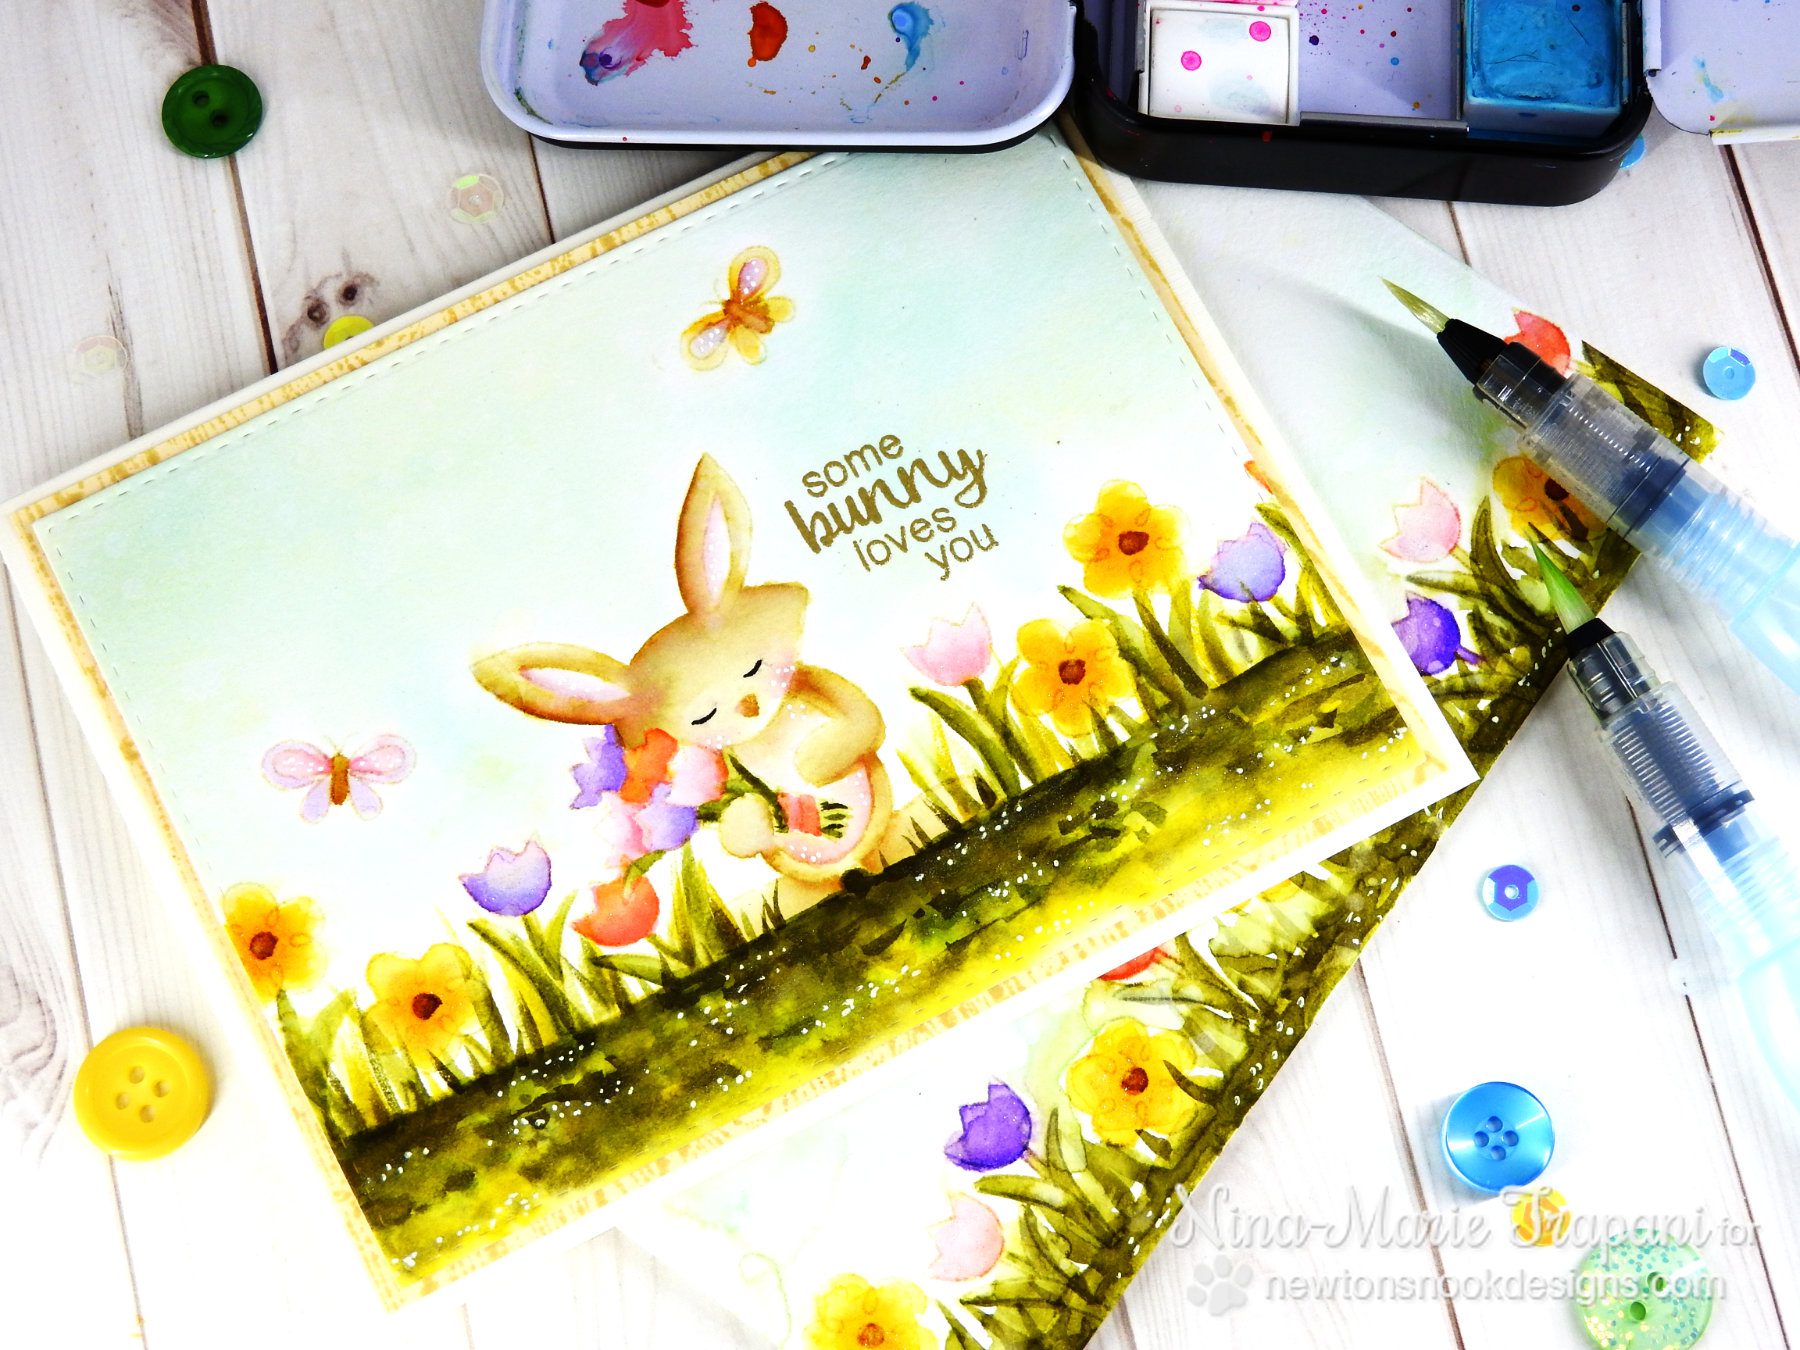
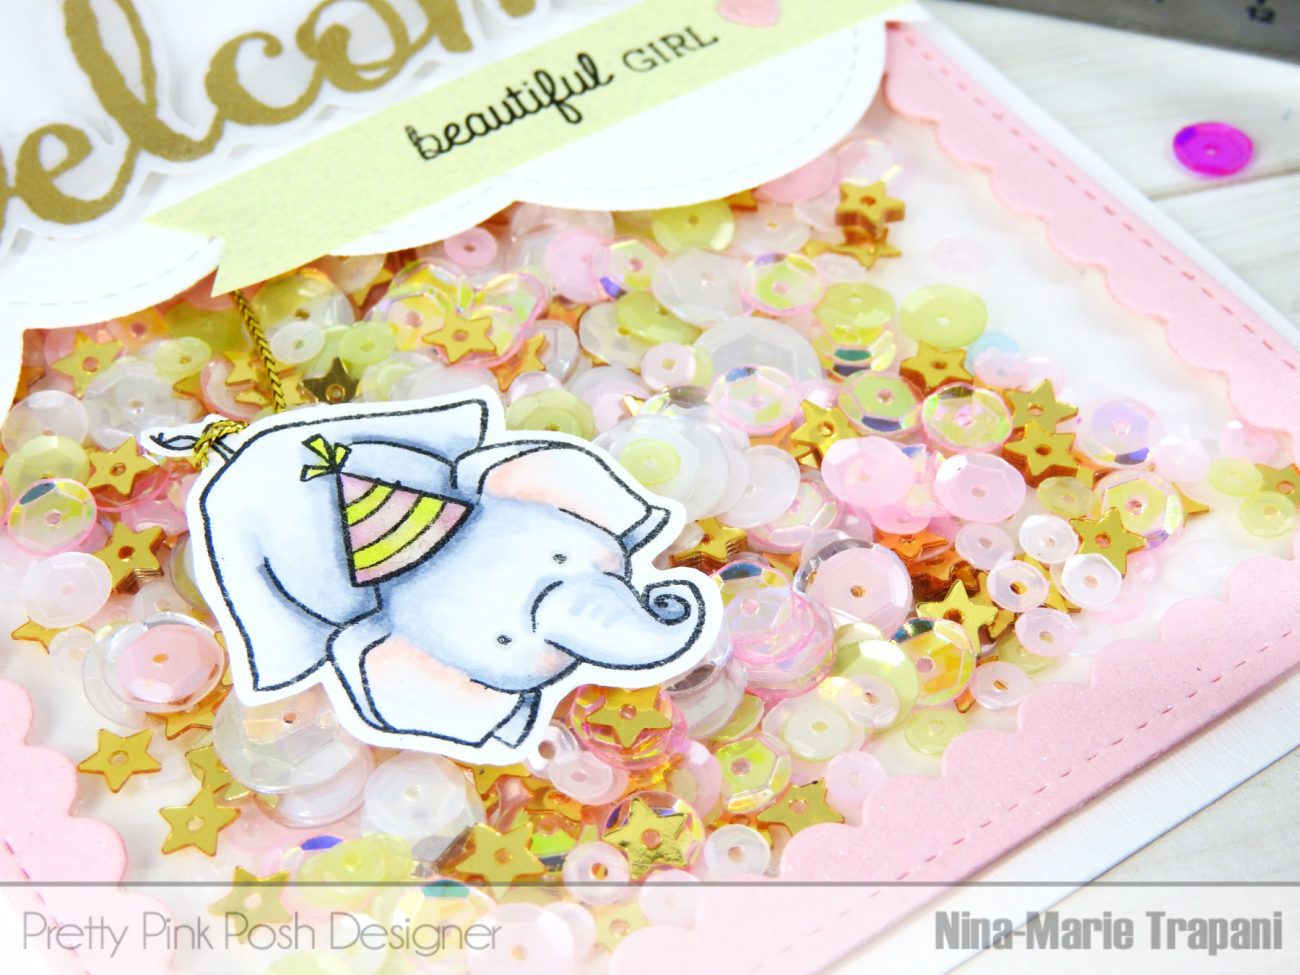
So how about some inspiration using this cute little bunny? I’ve created a fun and festive shaker card for today, which is perfect for a birthday or other celebrations.

Confetti Shaker_1

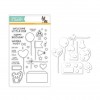
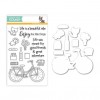
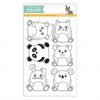
The bunny in this card is from the Touchdown Tails stamp set, which was released last fall. I love the sports theme of the set because a lot of my family and friends are sports fans and makes this a perfect set for creating cards for all of them!

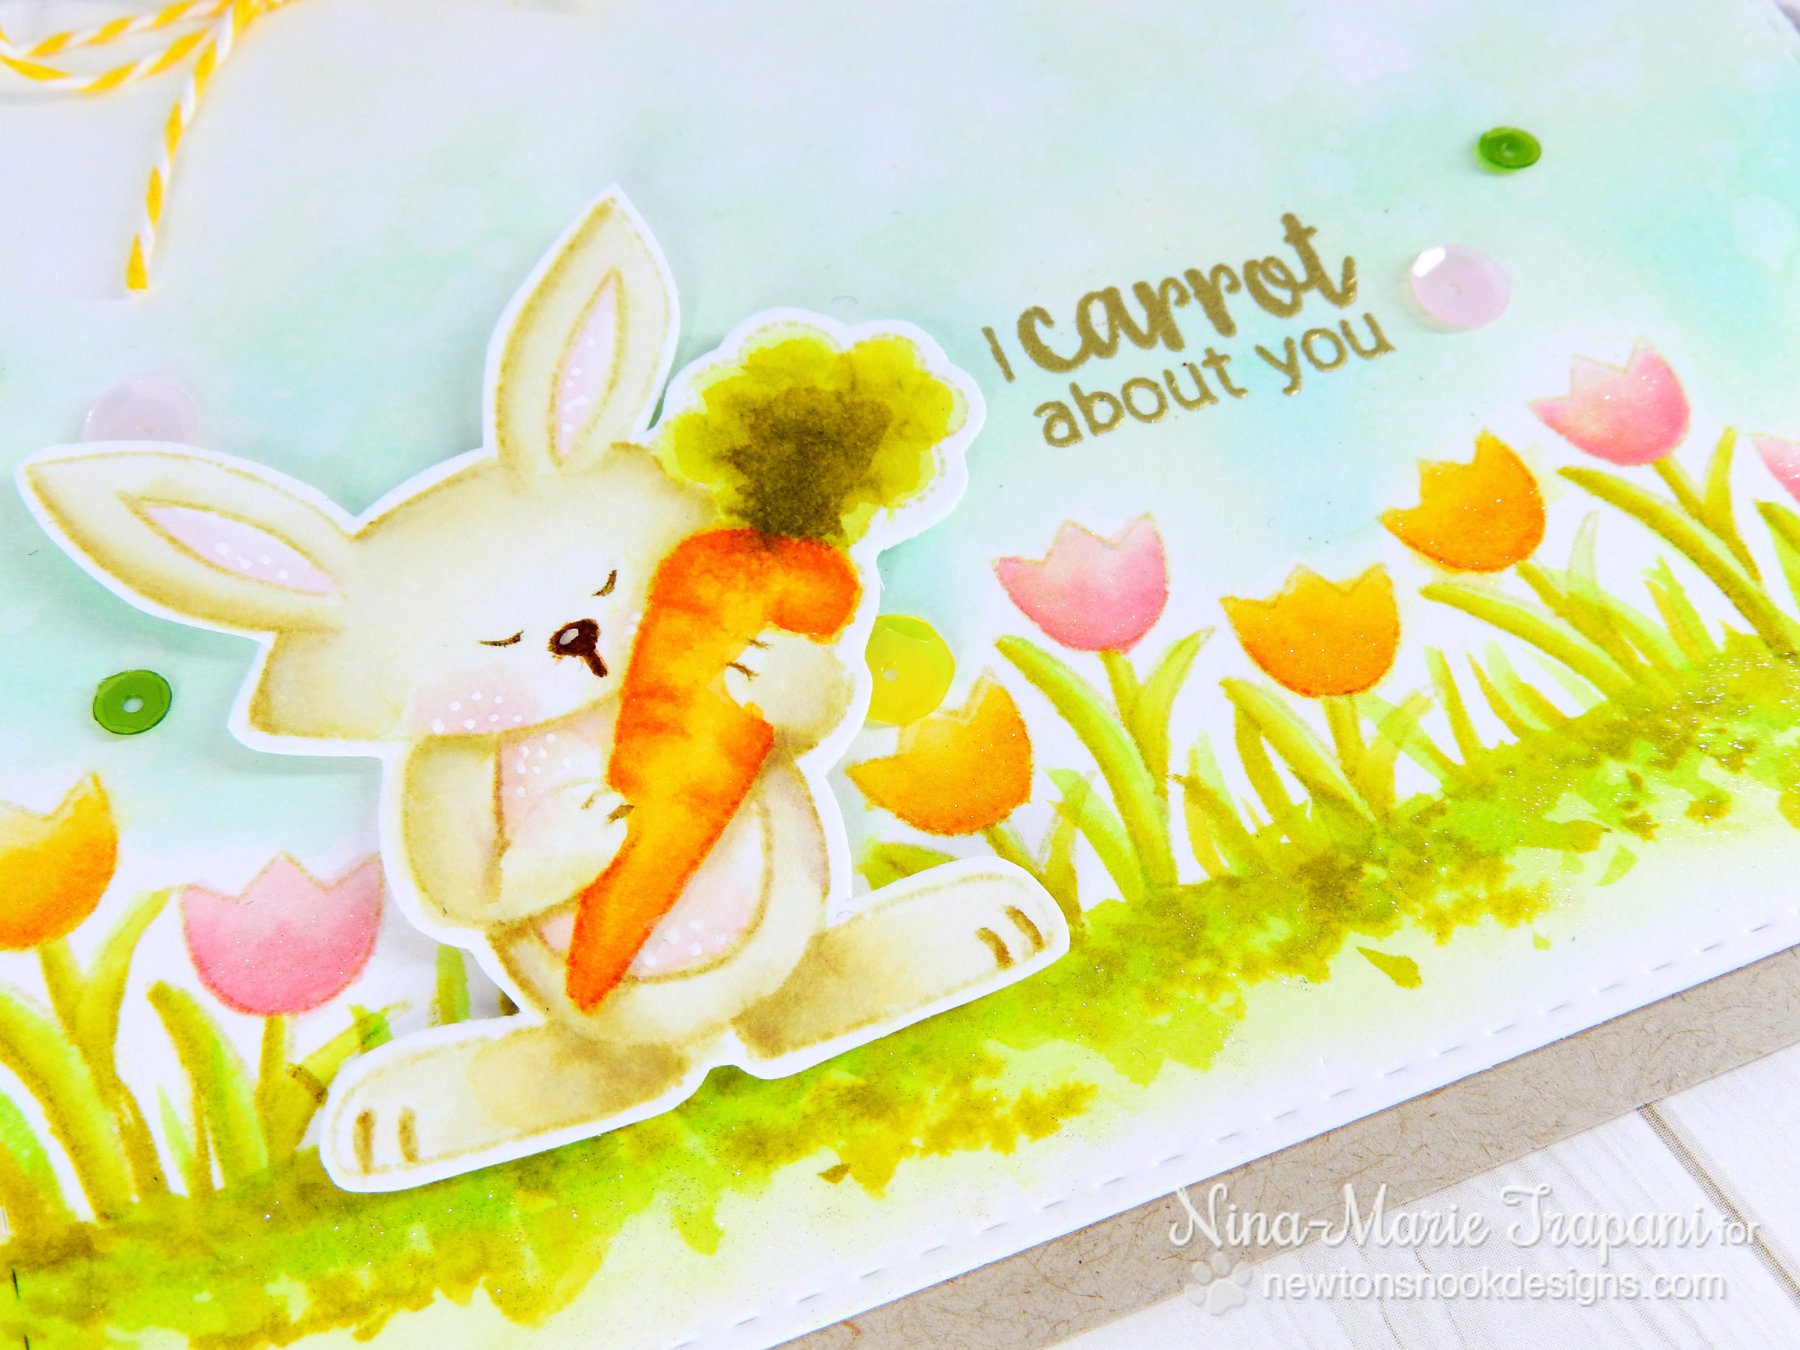
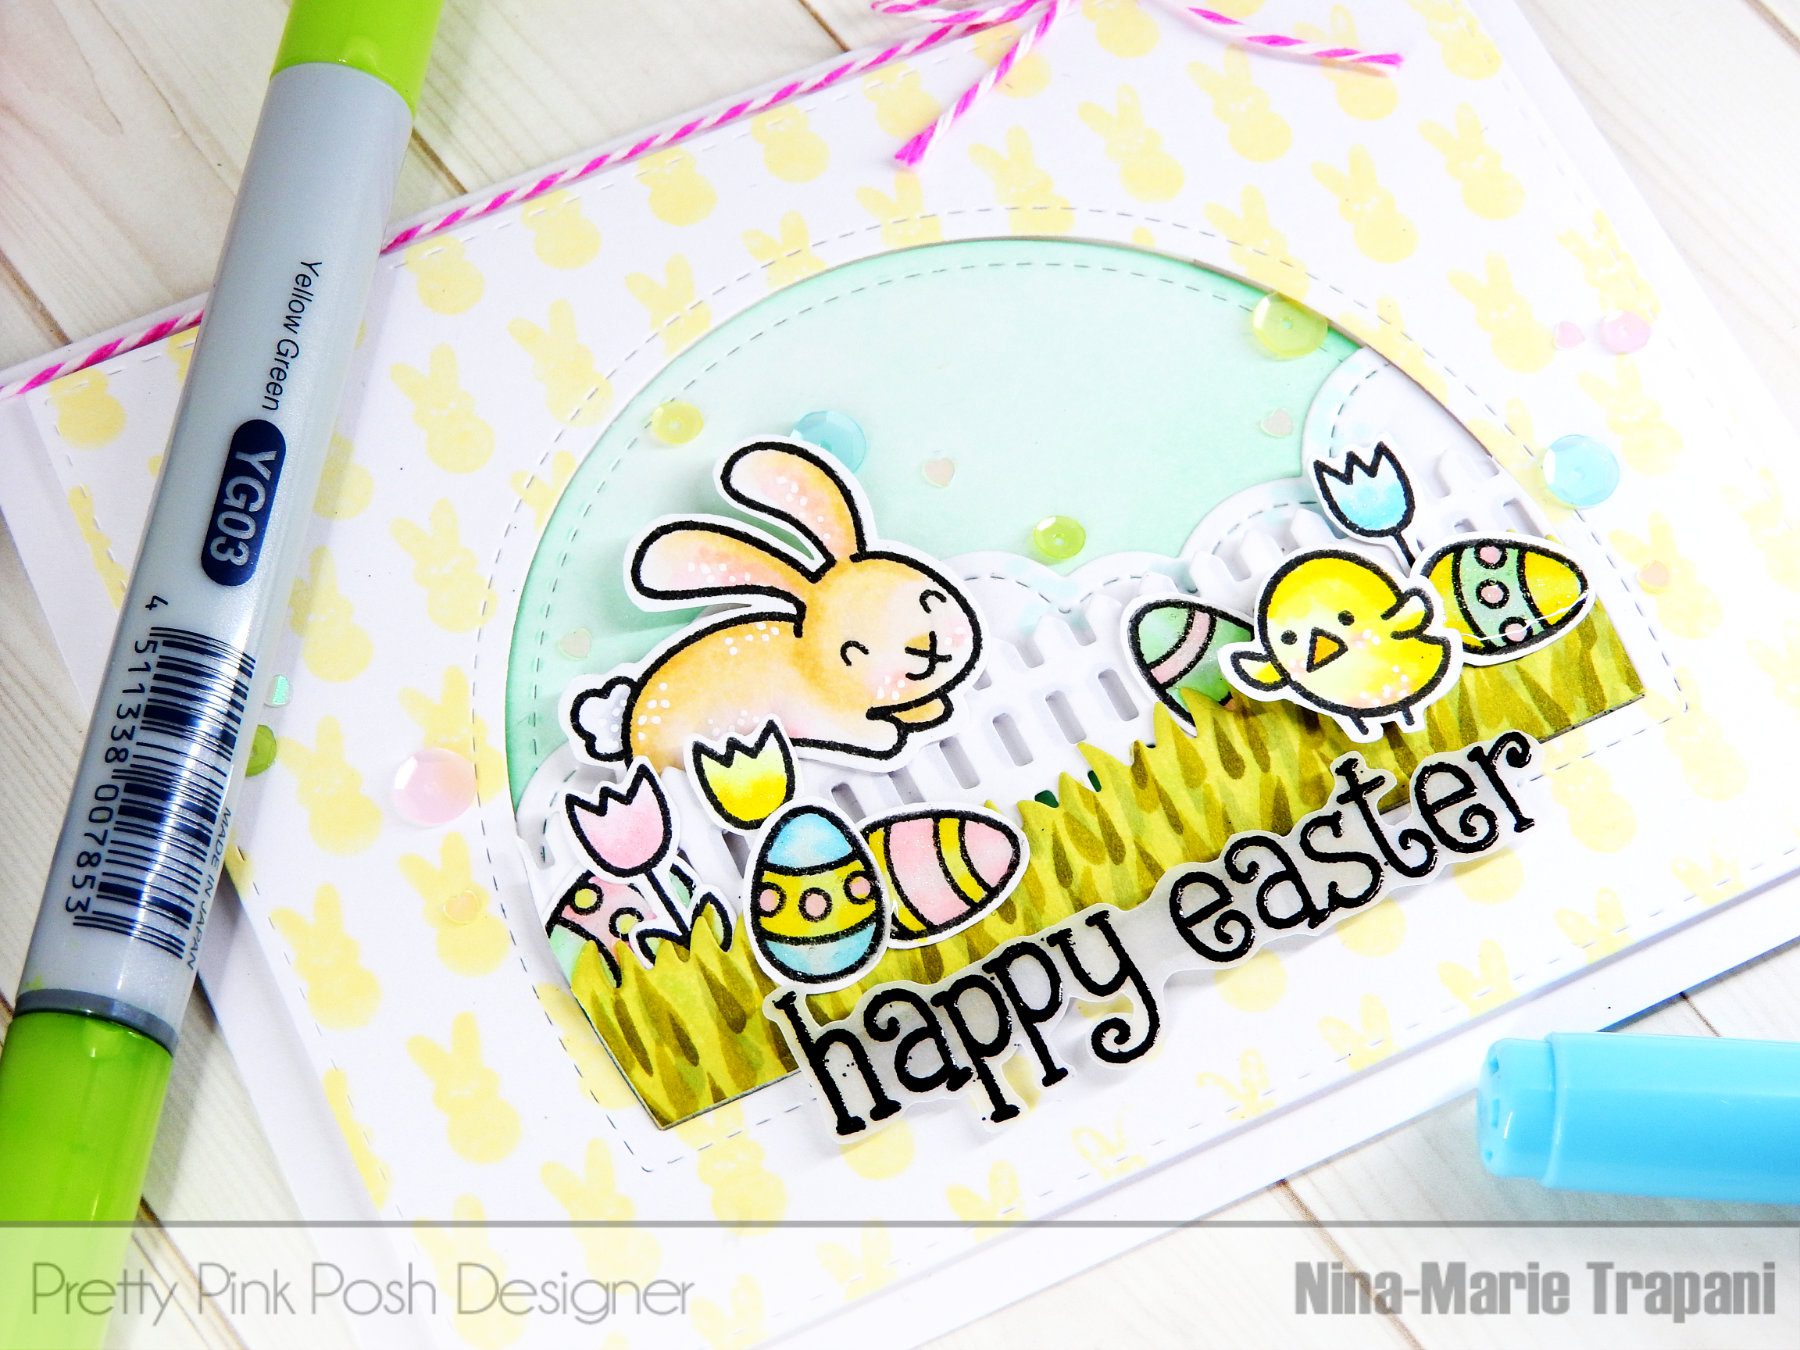
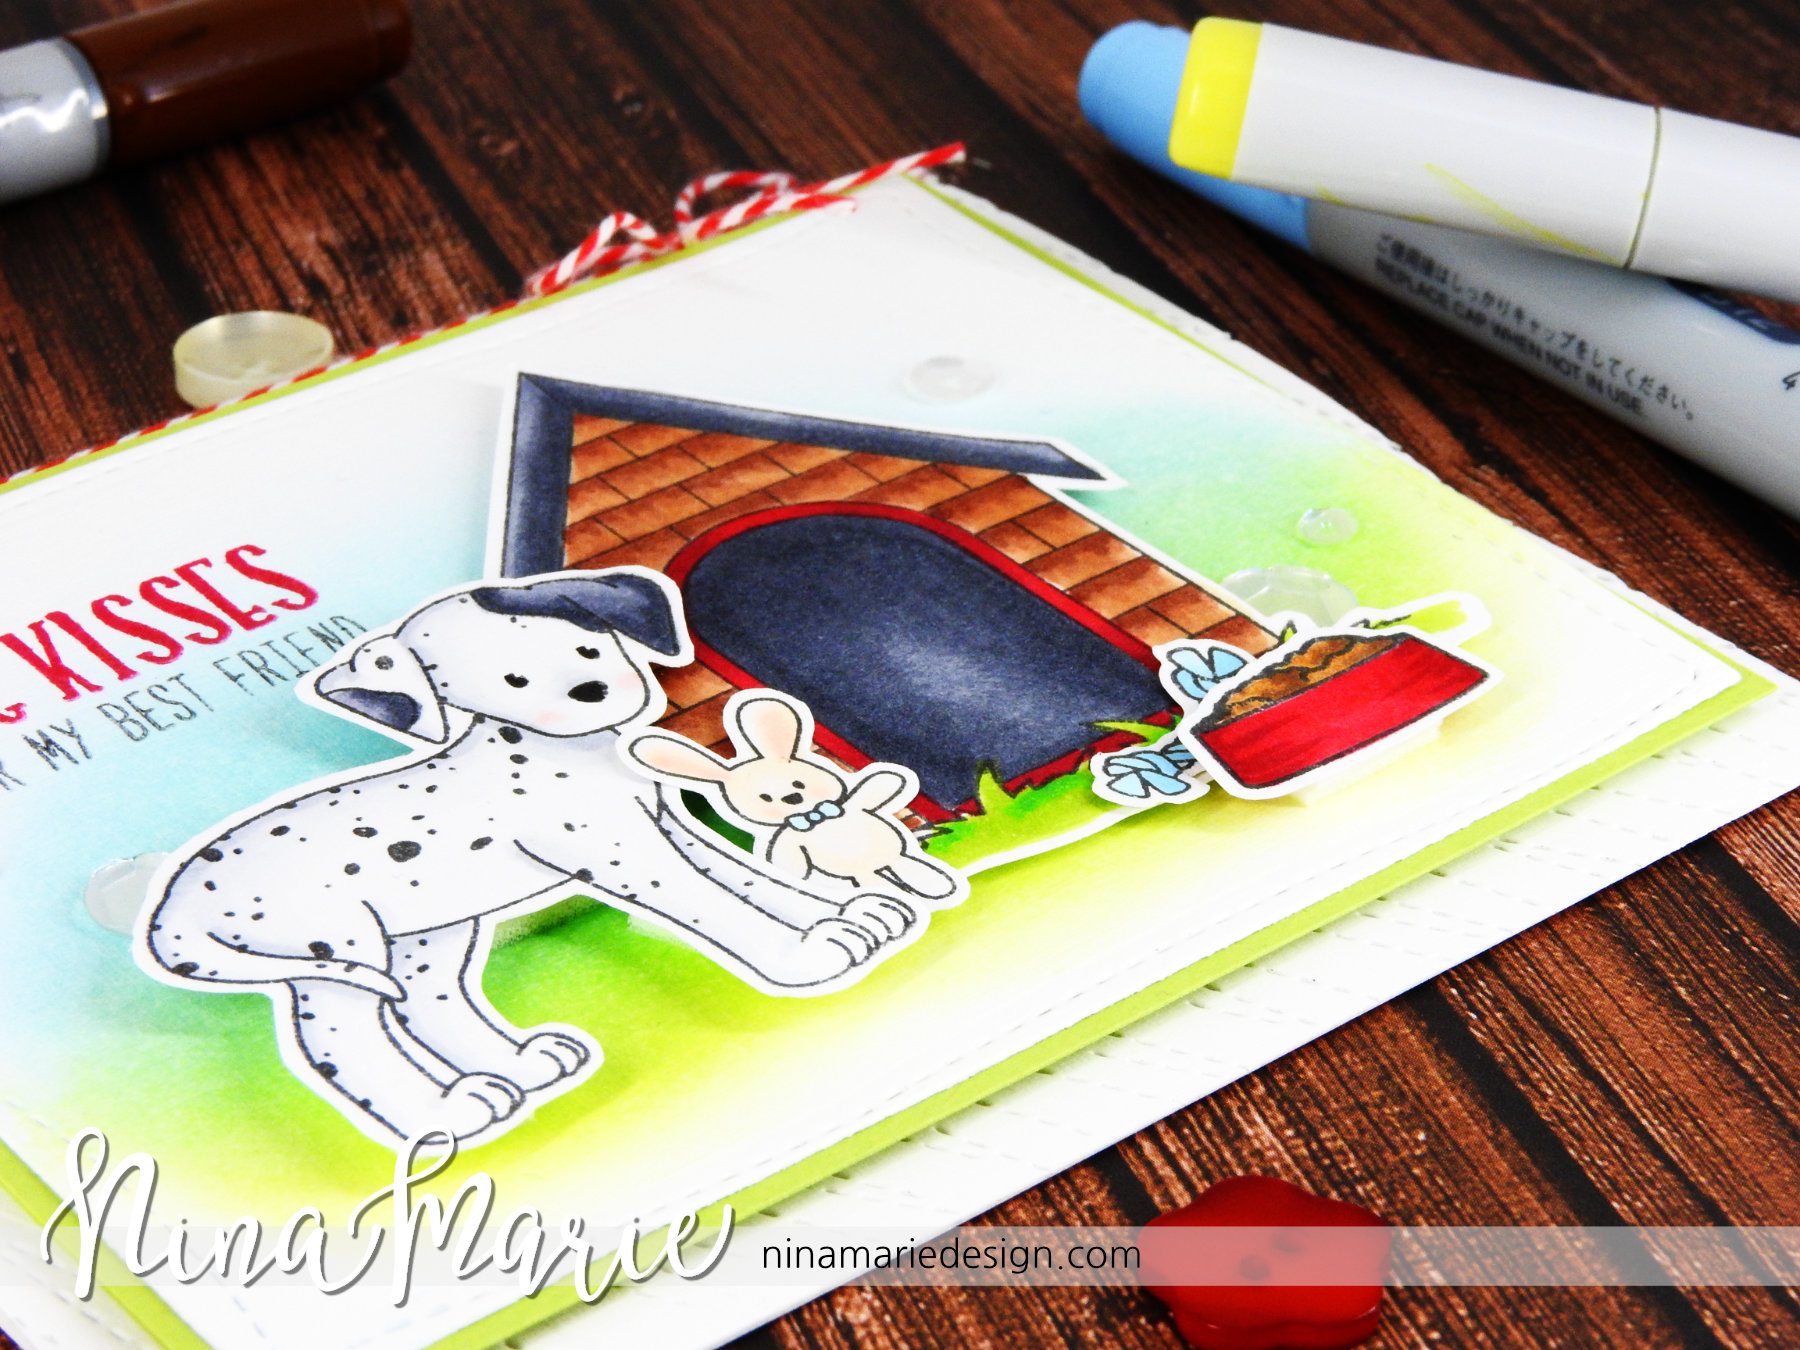
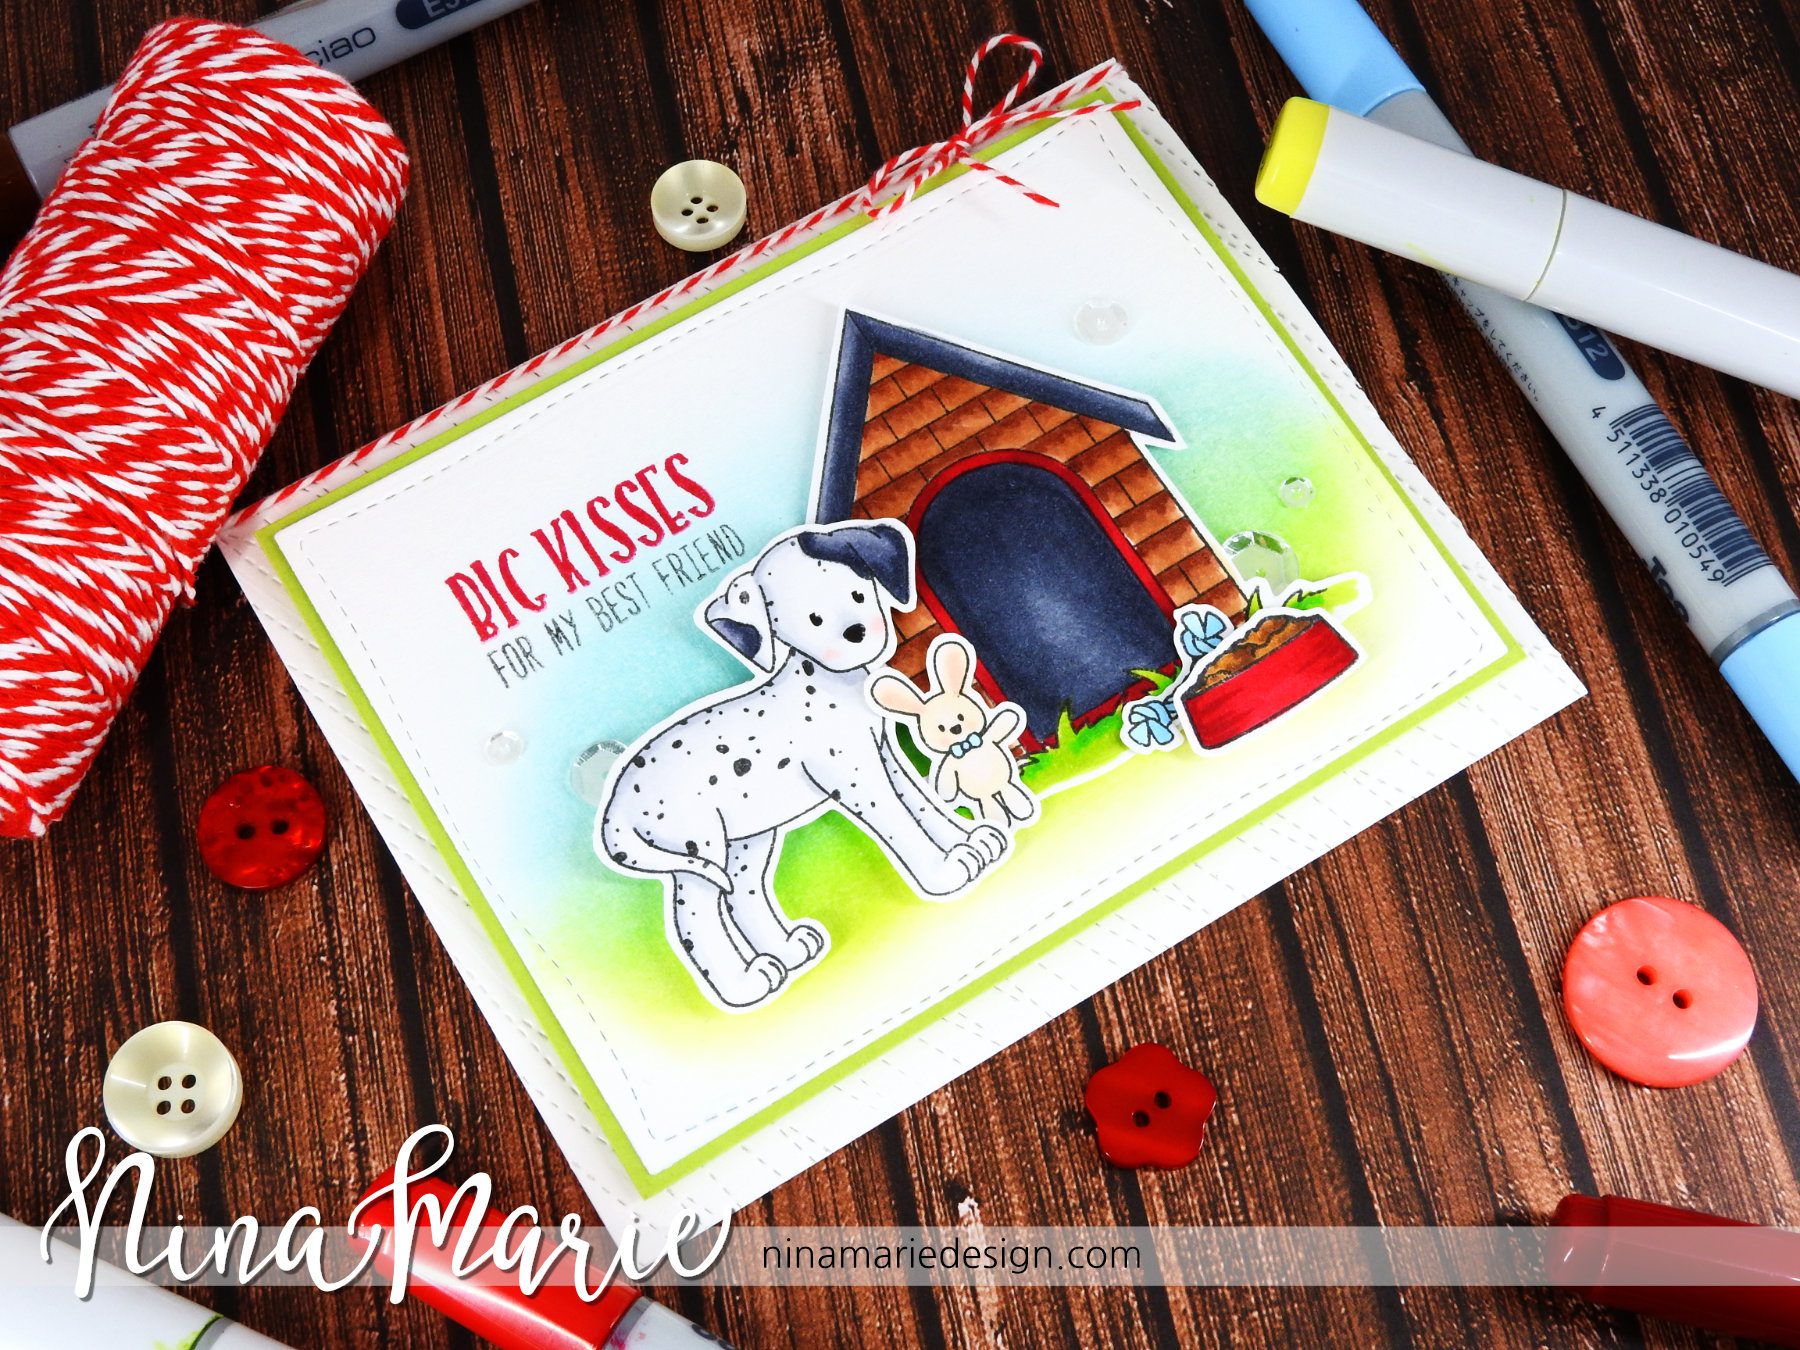
I started off by stamping the little bunny onto white cardstock using Simon Says Stamp Intense Black ink; I then colored the bunny in with my Copics. I will break down the colors below, and they are also linked over to Simon Says Stamp down in the products section at the bottom of this post:

  • bunny: E0000, E50, E30, E43 (body); RV00, R21 (cheeks)
  • pom-pom: Y000, Y21
  • cheerleader outfit: RV55, RV66

Once my image was colored, I fussy cut her out using fine tip scissors.

Confetti Shaker_2

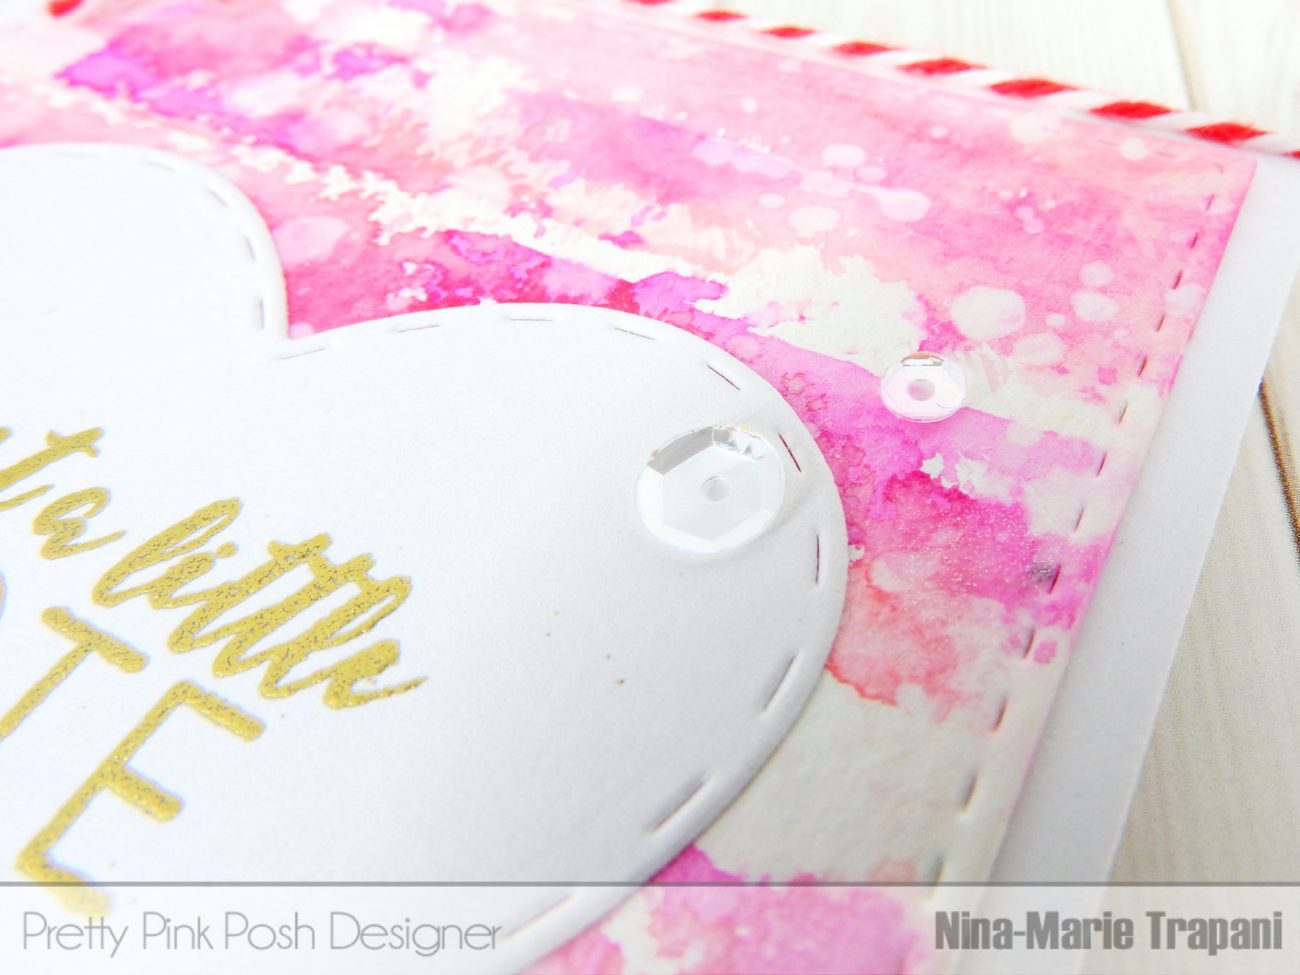
My shaker is created using a Pretty Pink Posh Scallop Circle die, which I die cut from cardstock-covered craft foam. The foam piece is layered under a piece of transparency, and a second cardstock scallop frame (this time without the foam), it adhered overtop.

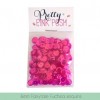
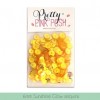
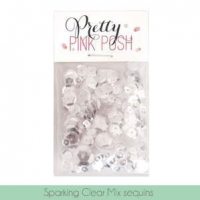
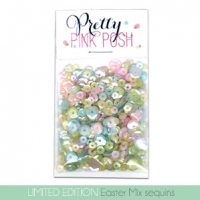
I then attached my bunny to the inside of the shaker, which is filled with sequins from Pretty Pink Posh (Fairytale Fuchsia, Lime Sorbet, Pink Blush, Sunshine Glow, Gold Stars, Lemon Meringue, Sparkling Clear and Iridescent mini stars). Normally I put my critters outside a shaker, but for this card I chose to add the bunny inside instead so as to appear as if she is throwing confetti around her to celebrate something! :)

Confetti Shaker_3

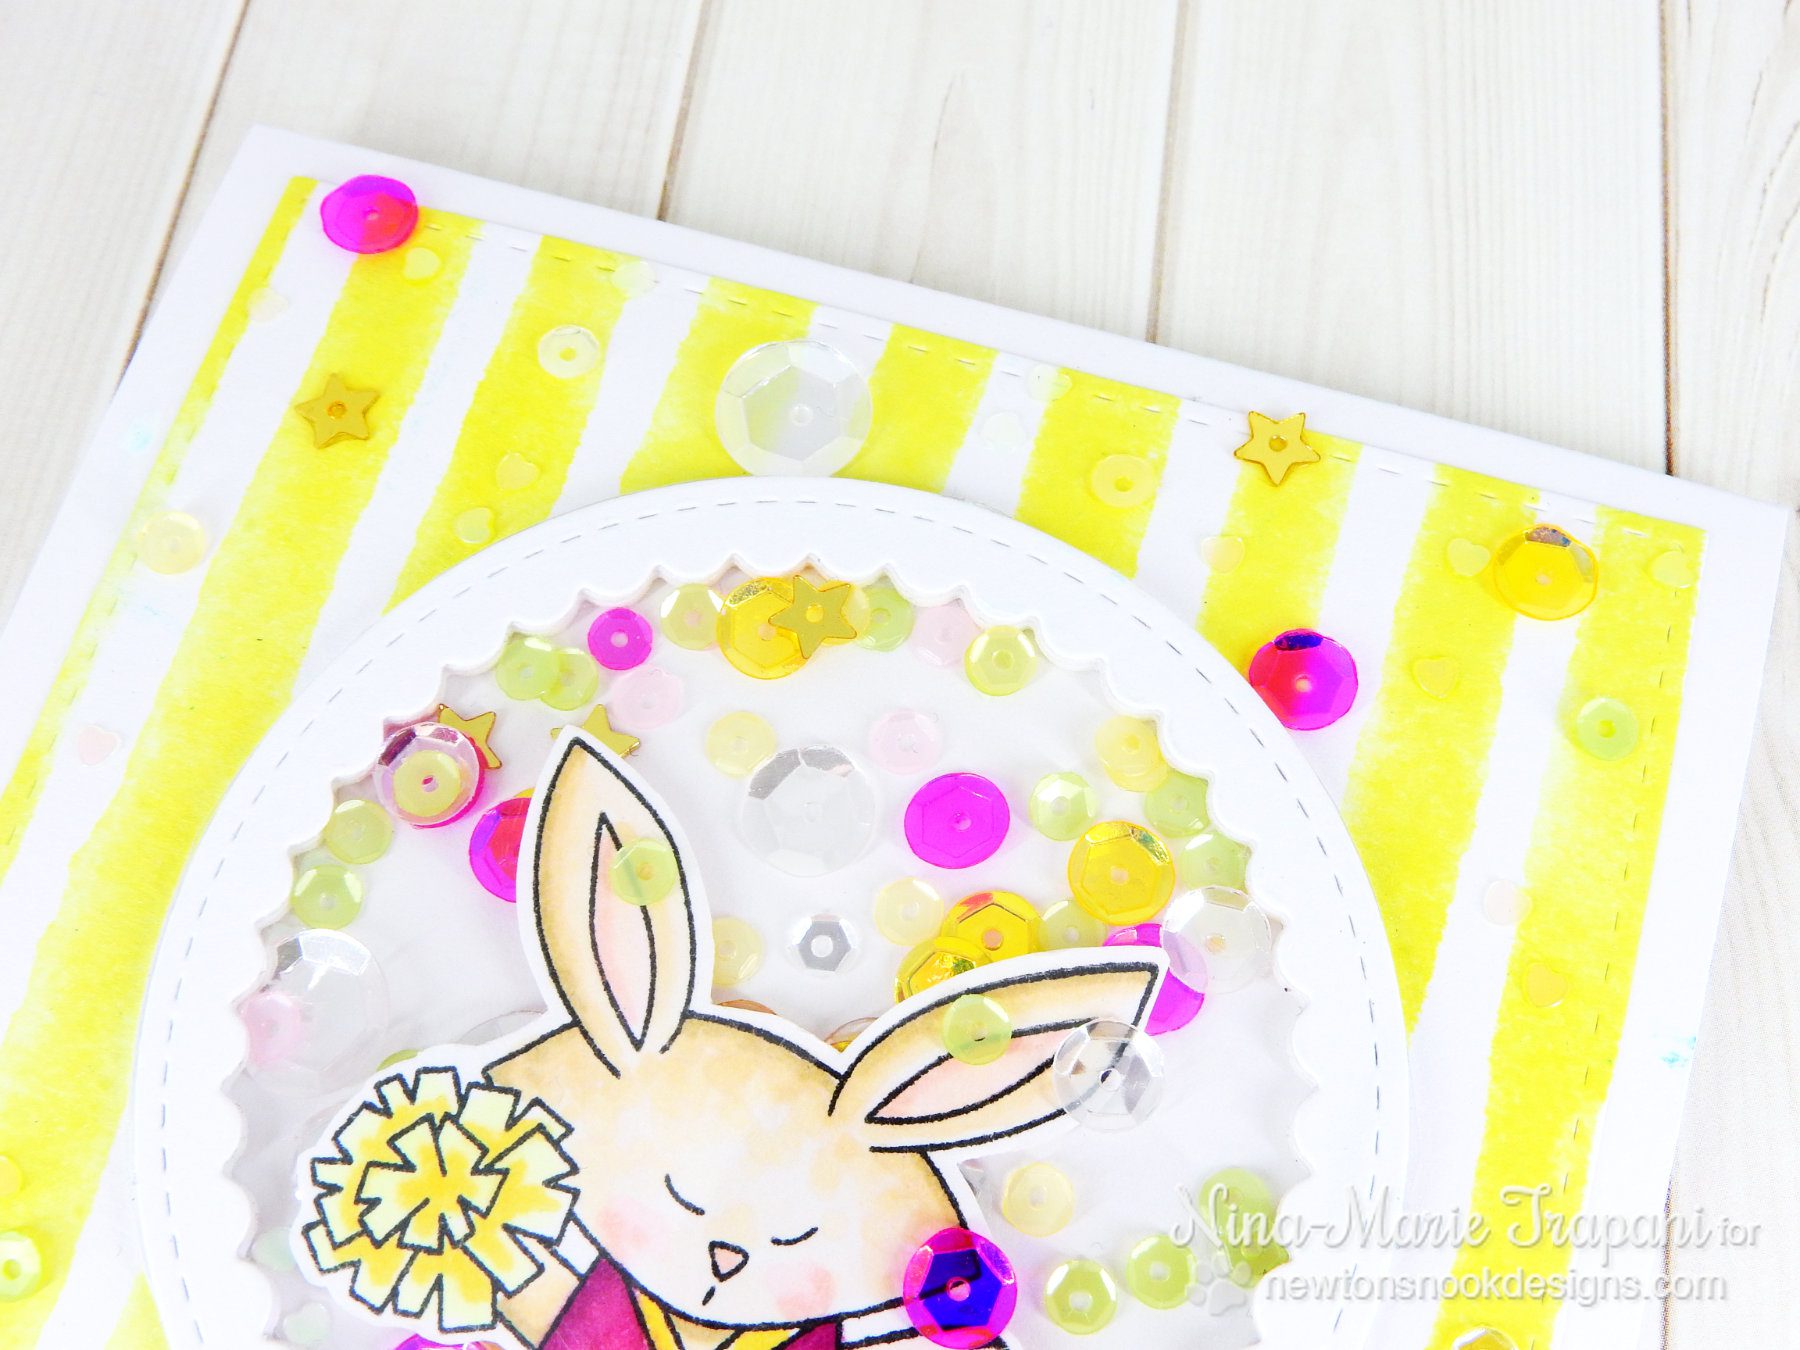
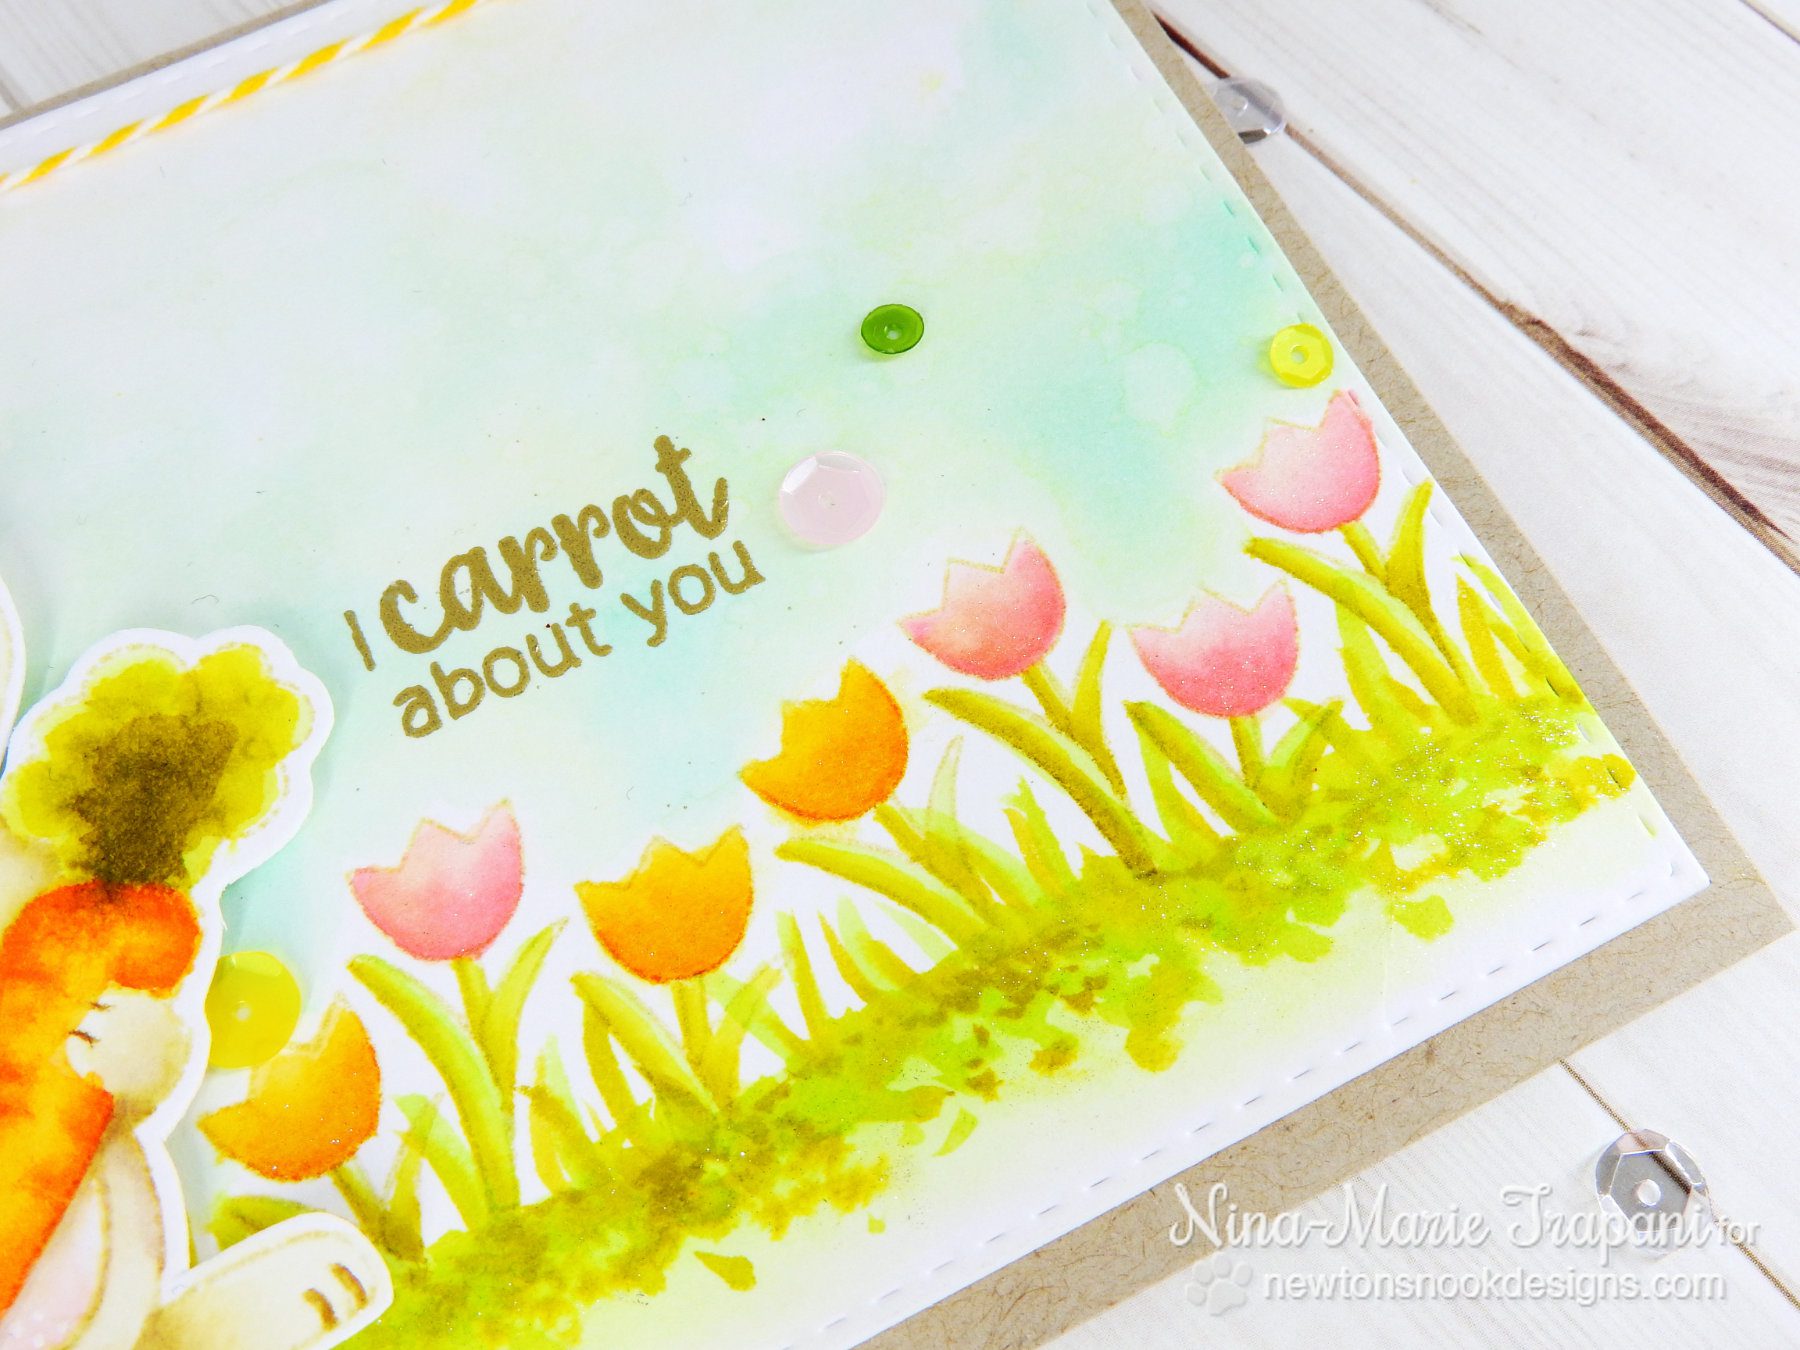
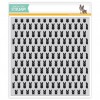
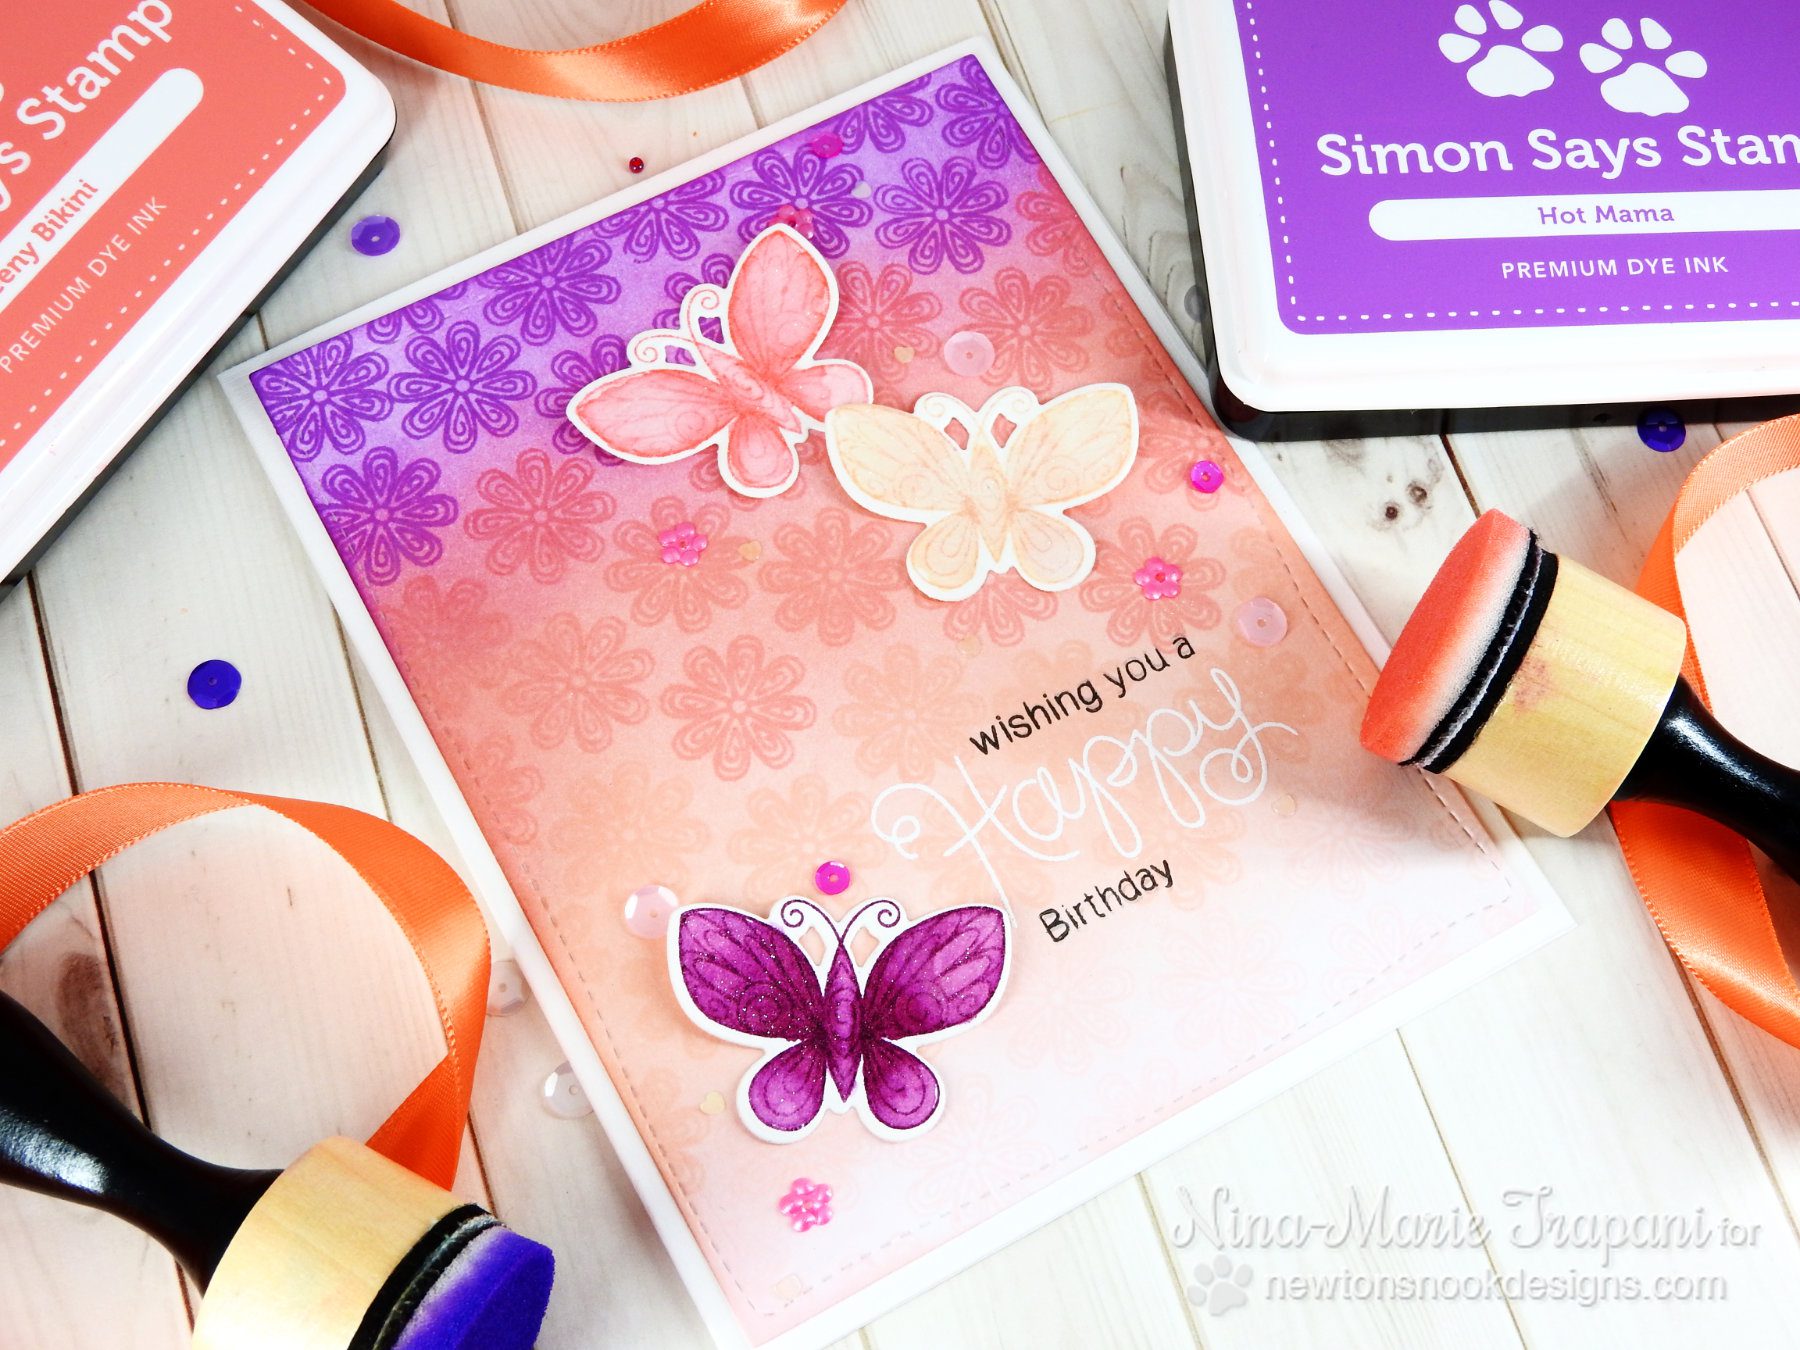
My shaker element is layered onto a 4 1/4″ square card base; there is a slightly smaller panel layered between the card base and the shaker which is stamped in Squeezed Lemonade distress ink using a My Favorite Things background stamp.

And because I wanted to keep with the bunny-throwing-confetti idea, I used a mixture of the same sequins in my shaker to create falling “confetti” cascading down the card! I love the fun effect it gives, what do you think?


MORE INSPIRATION

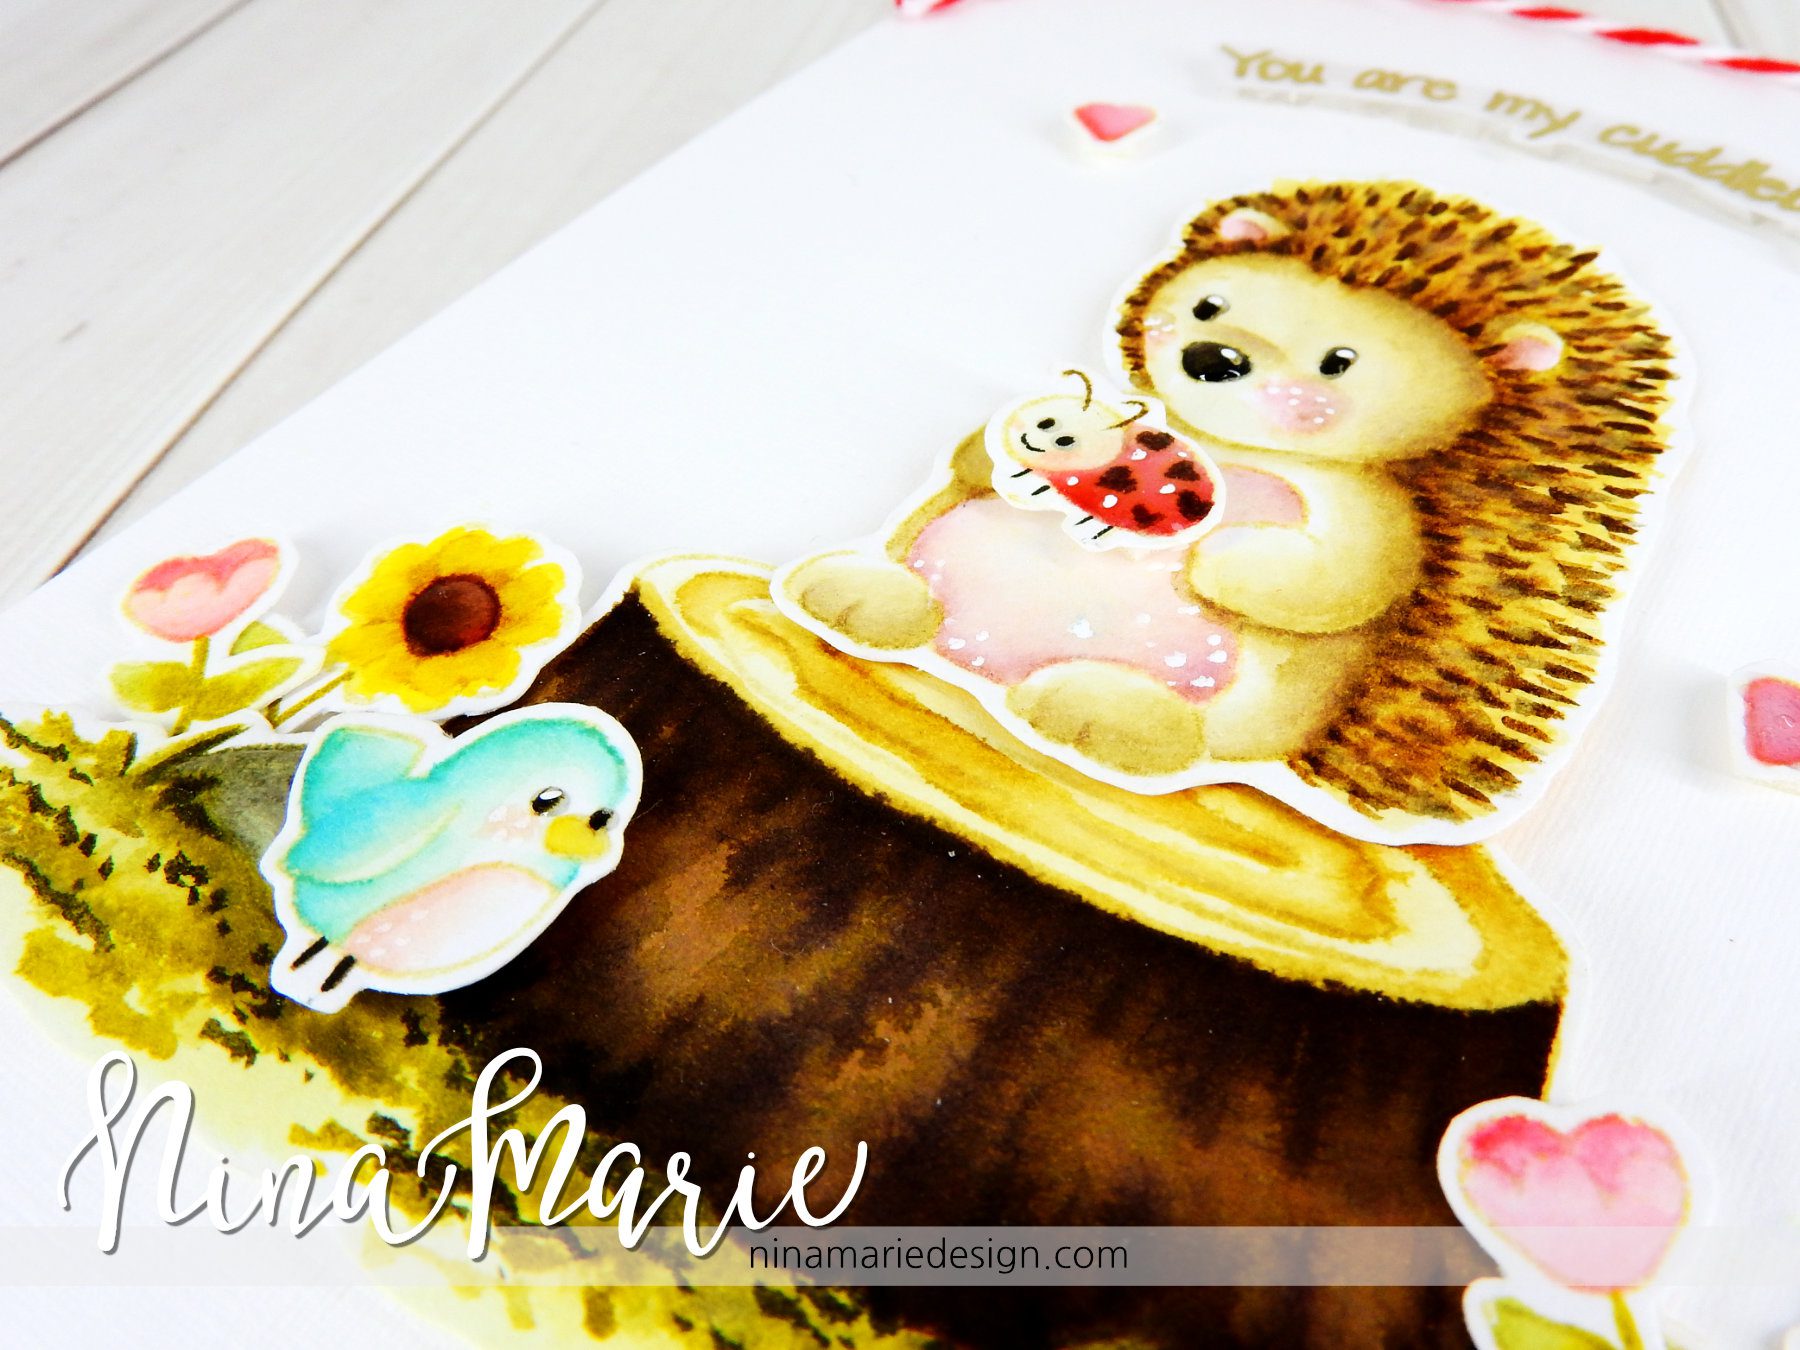
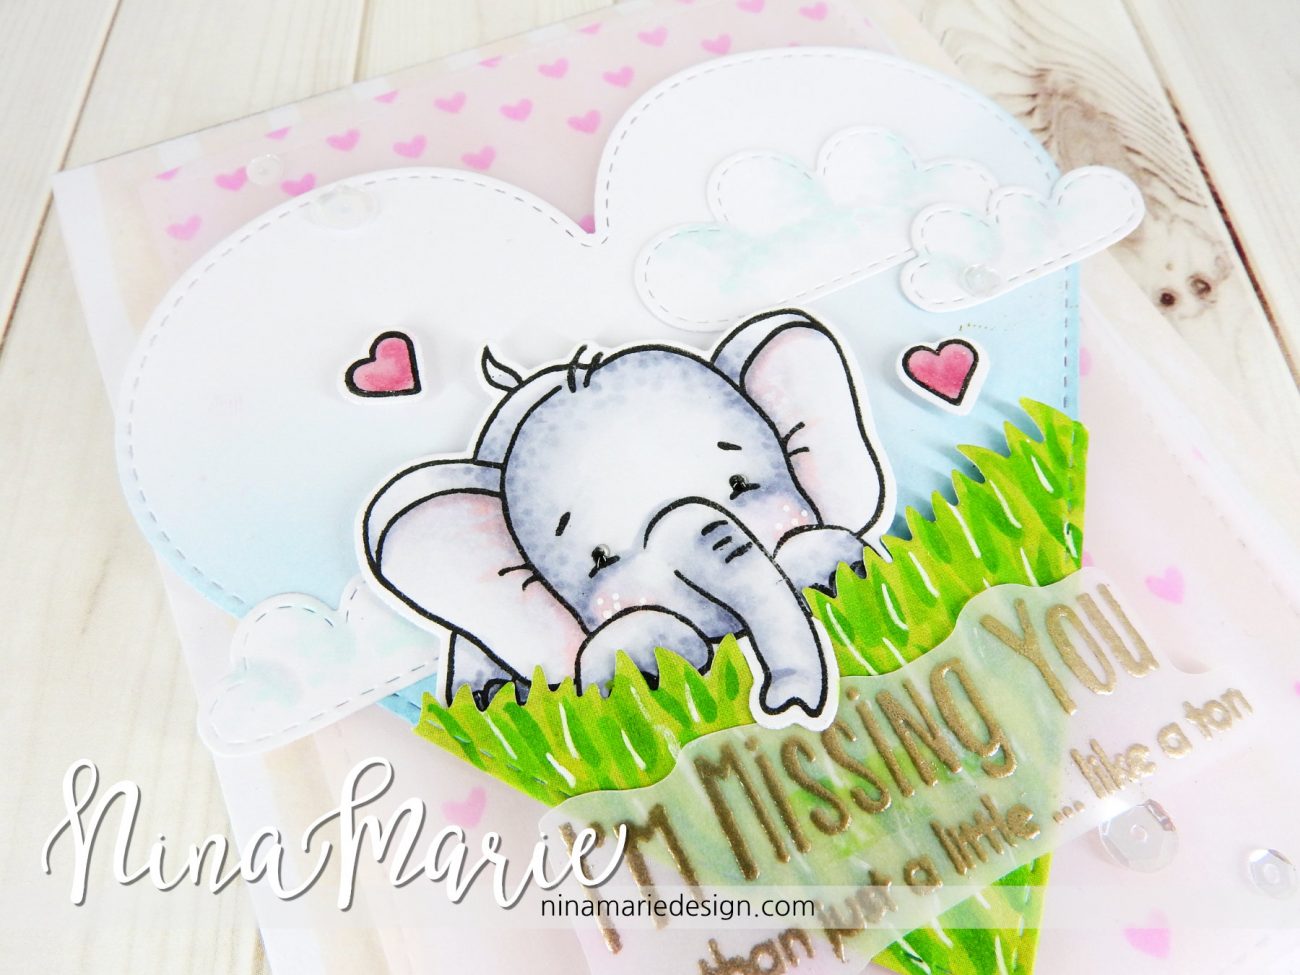
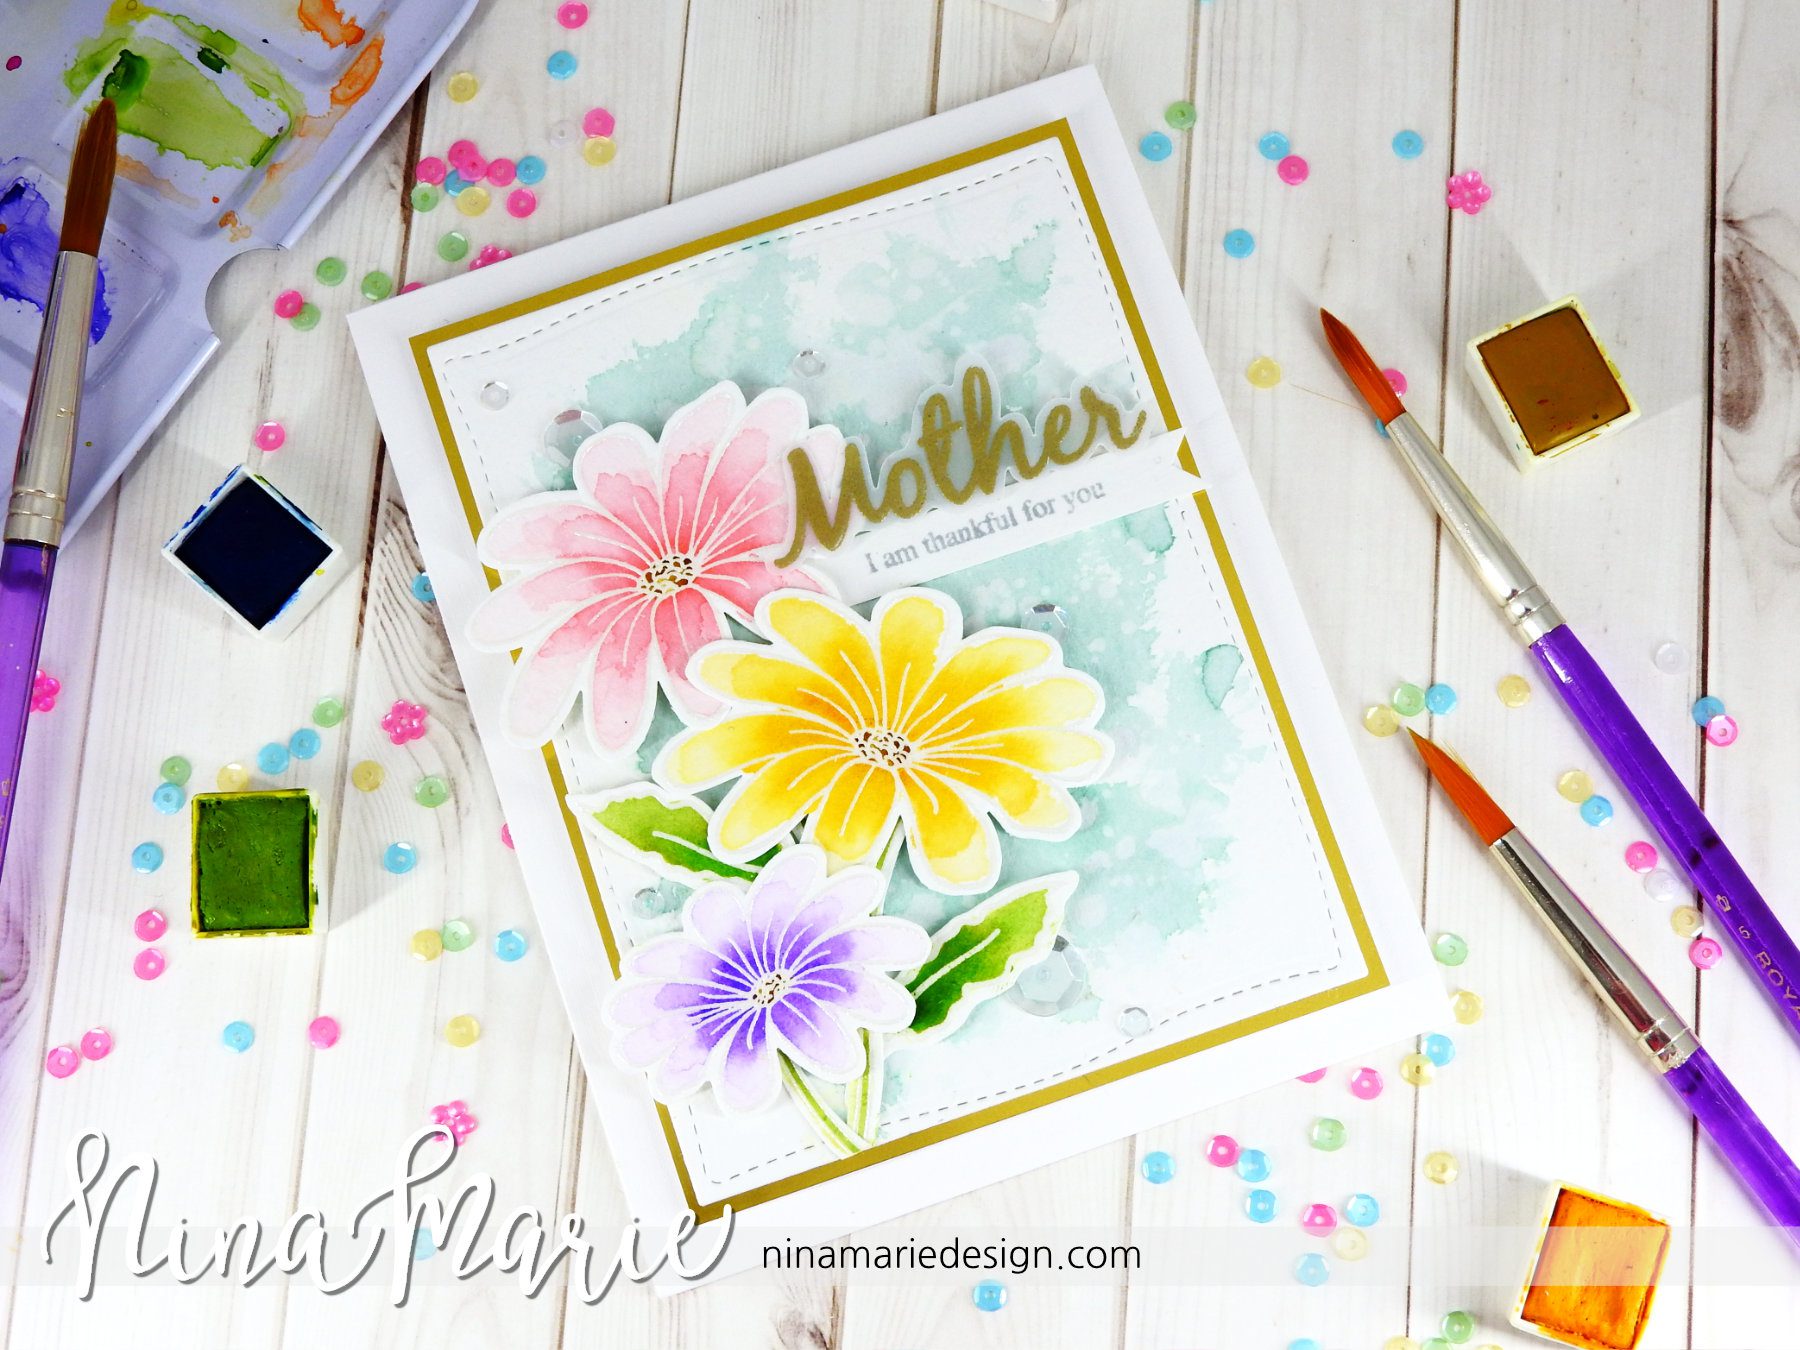
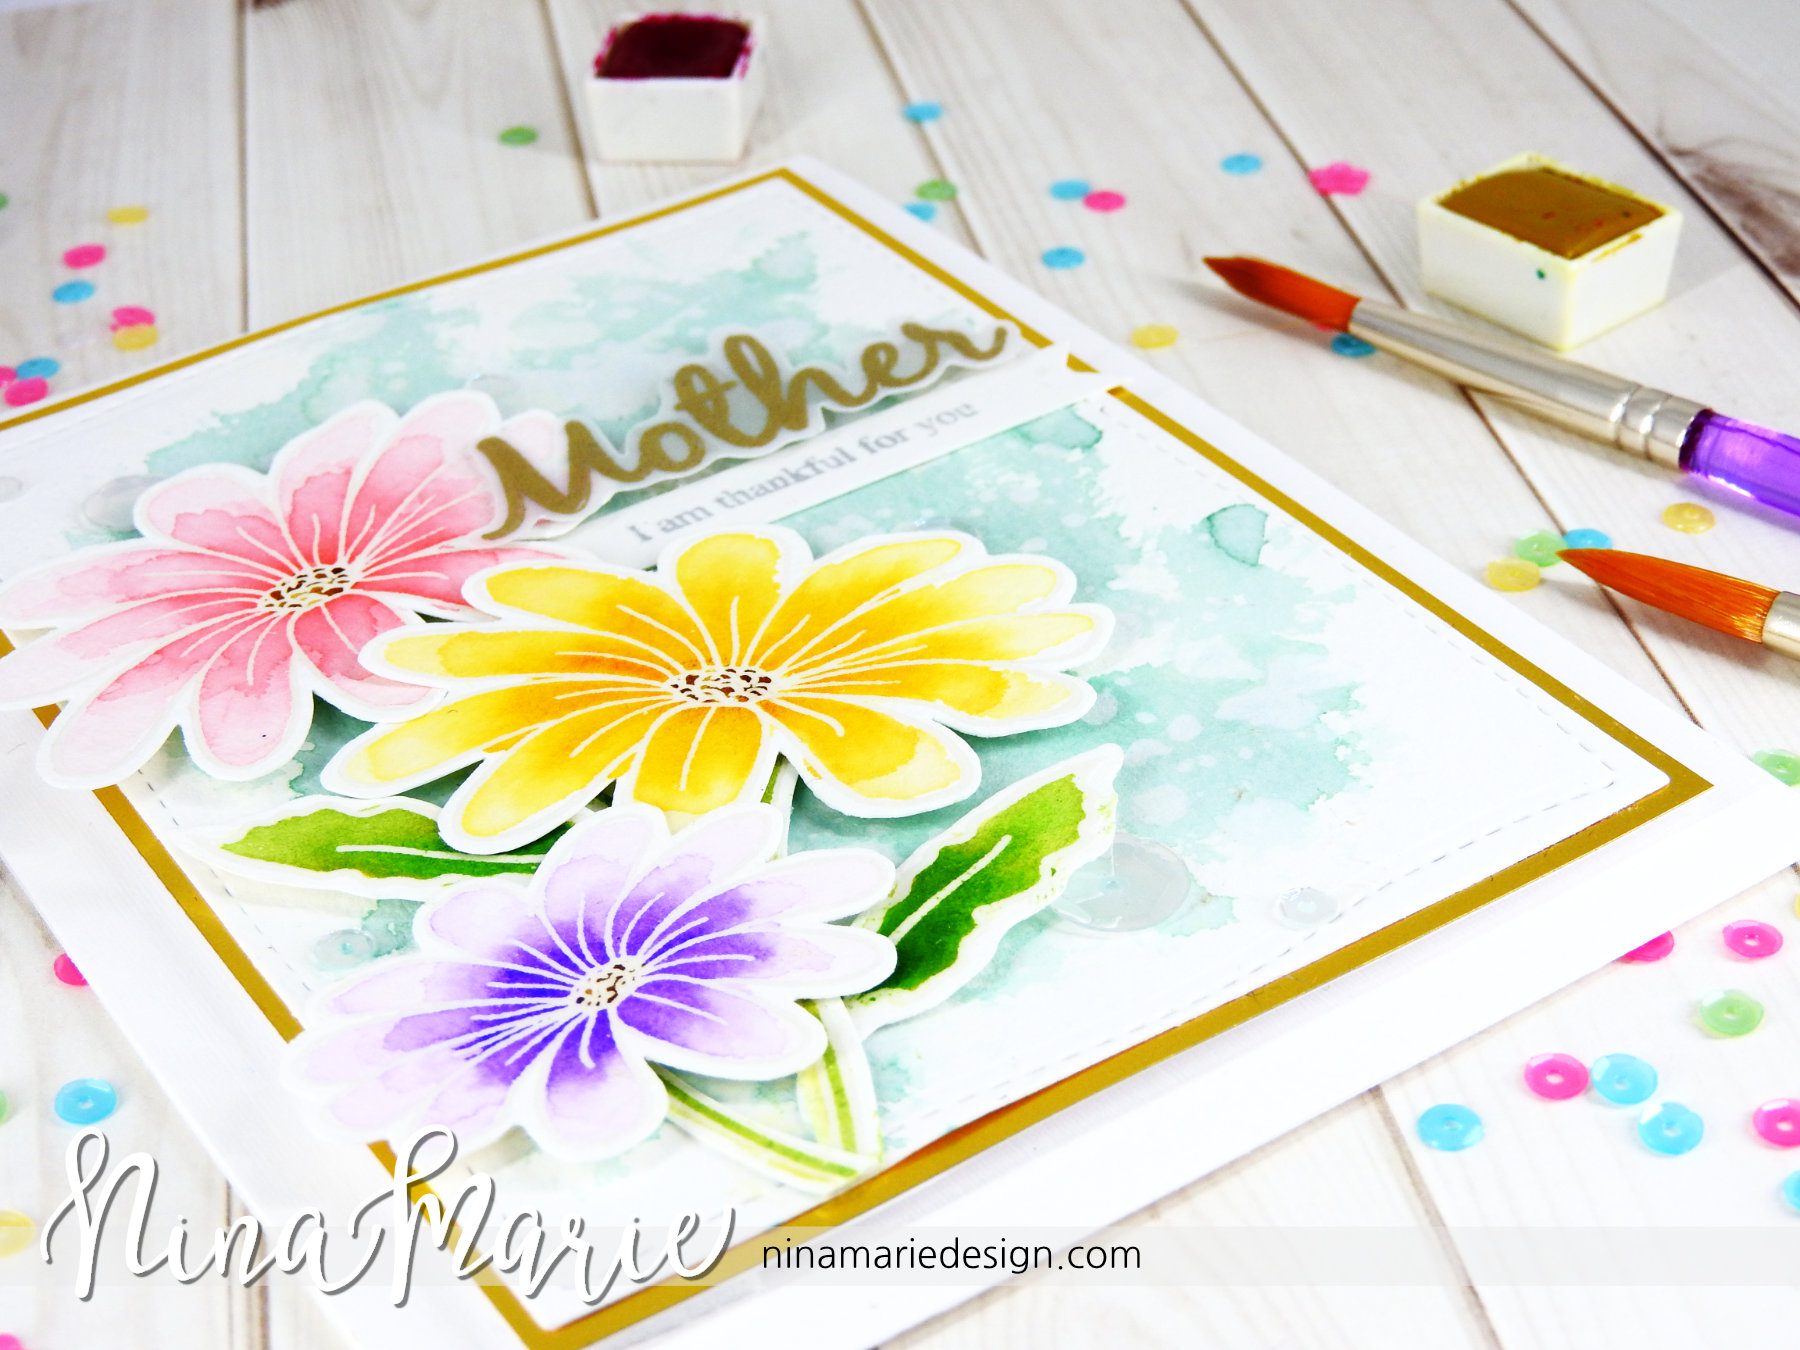
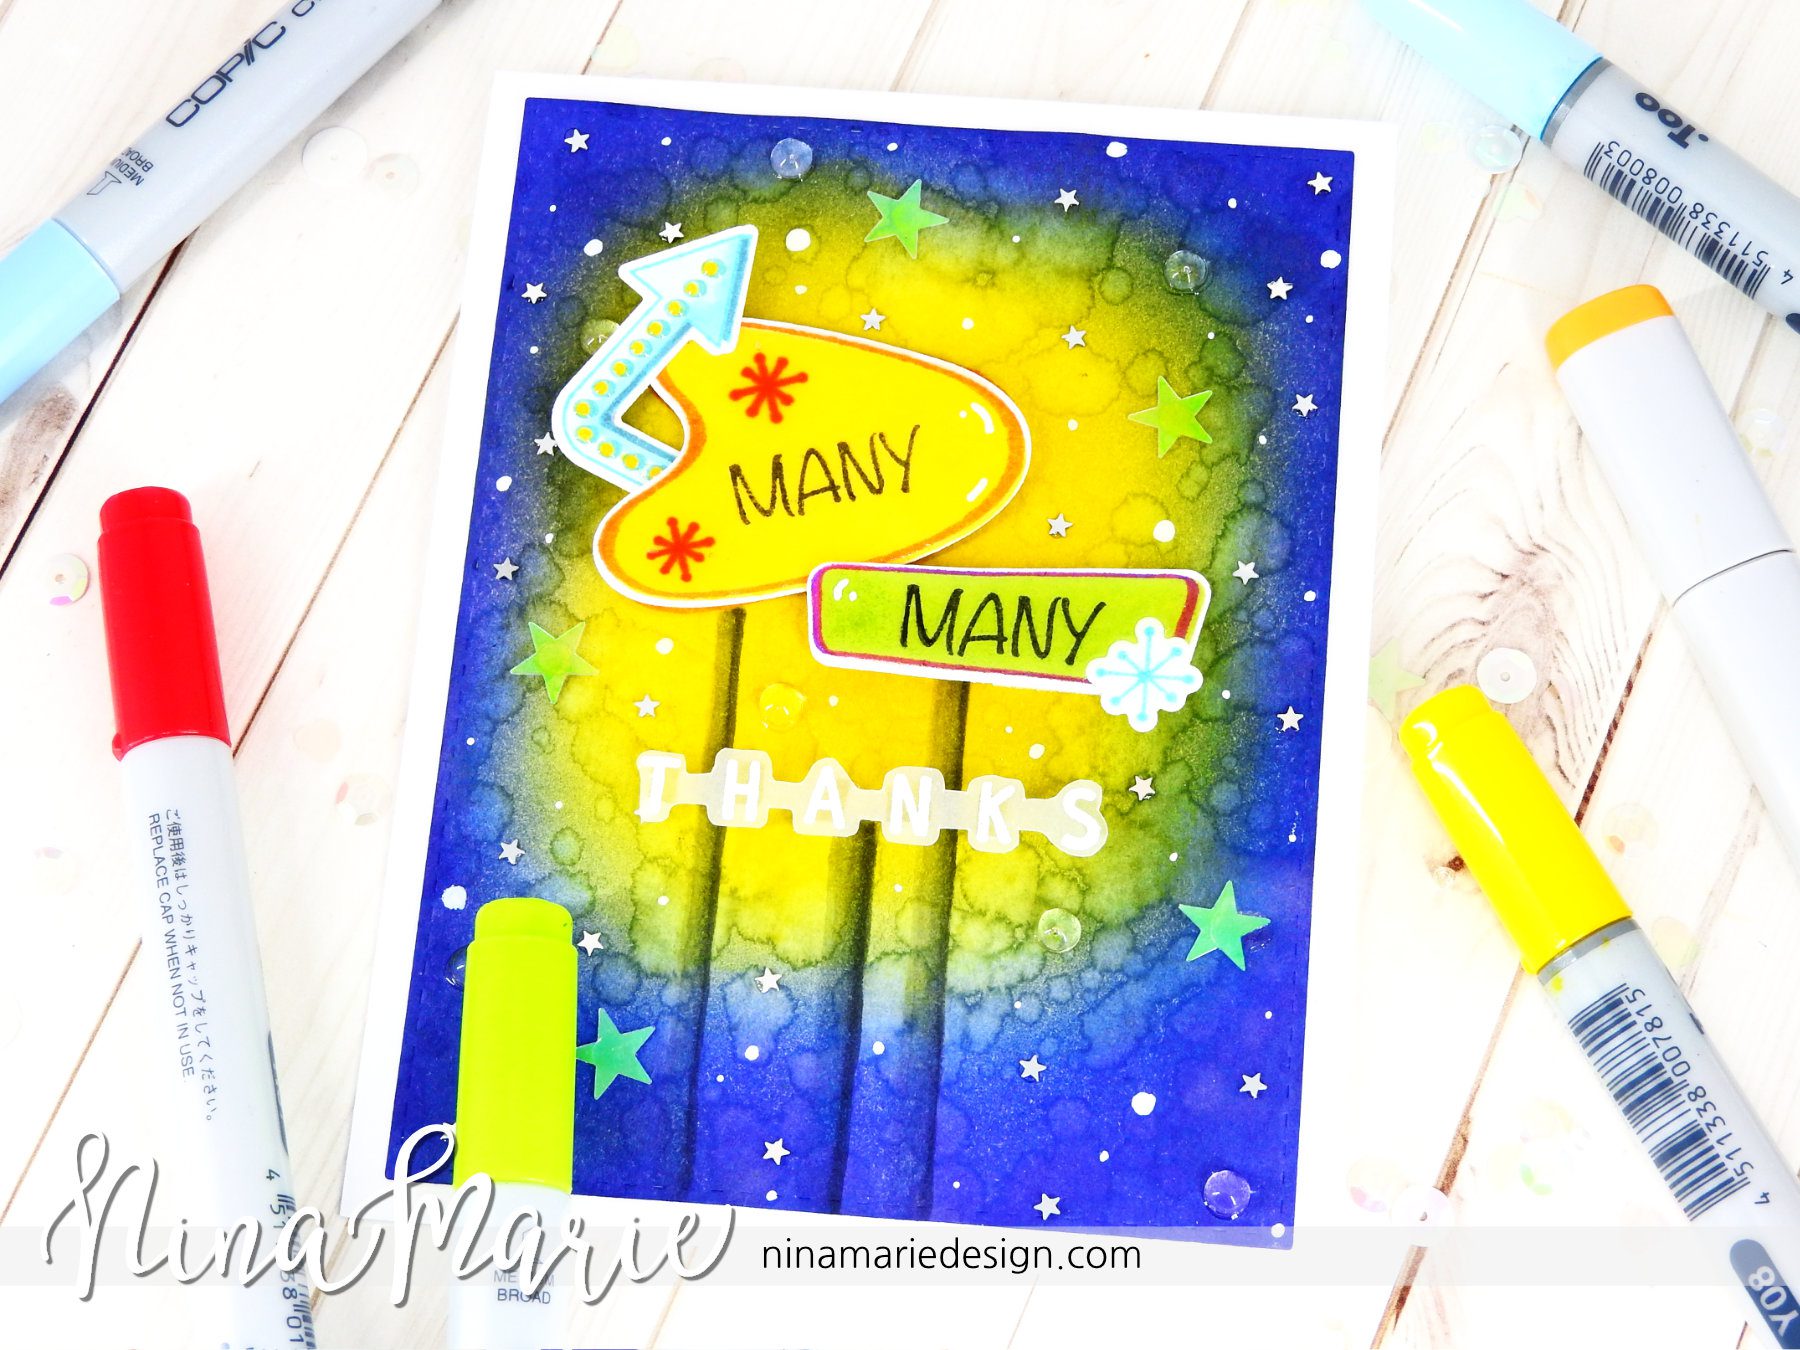
If you liked today’s card and want more shaker card inspiration, here are a few other recent shakers that I have created! Click on the photos to be taken to the corresponding posts.

Double Frame Shaker_2
Colored Vellum Shaker_2
Layered Florals Shaker_2


NAME THE BUNNY & A GIVEAWAY

Bunny_550

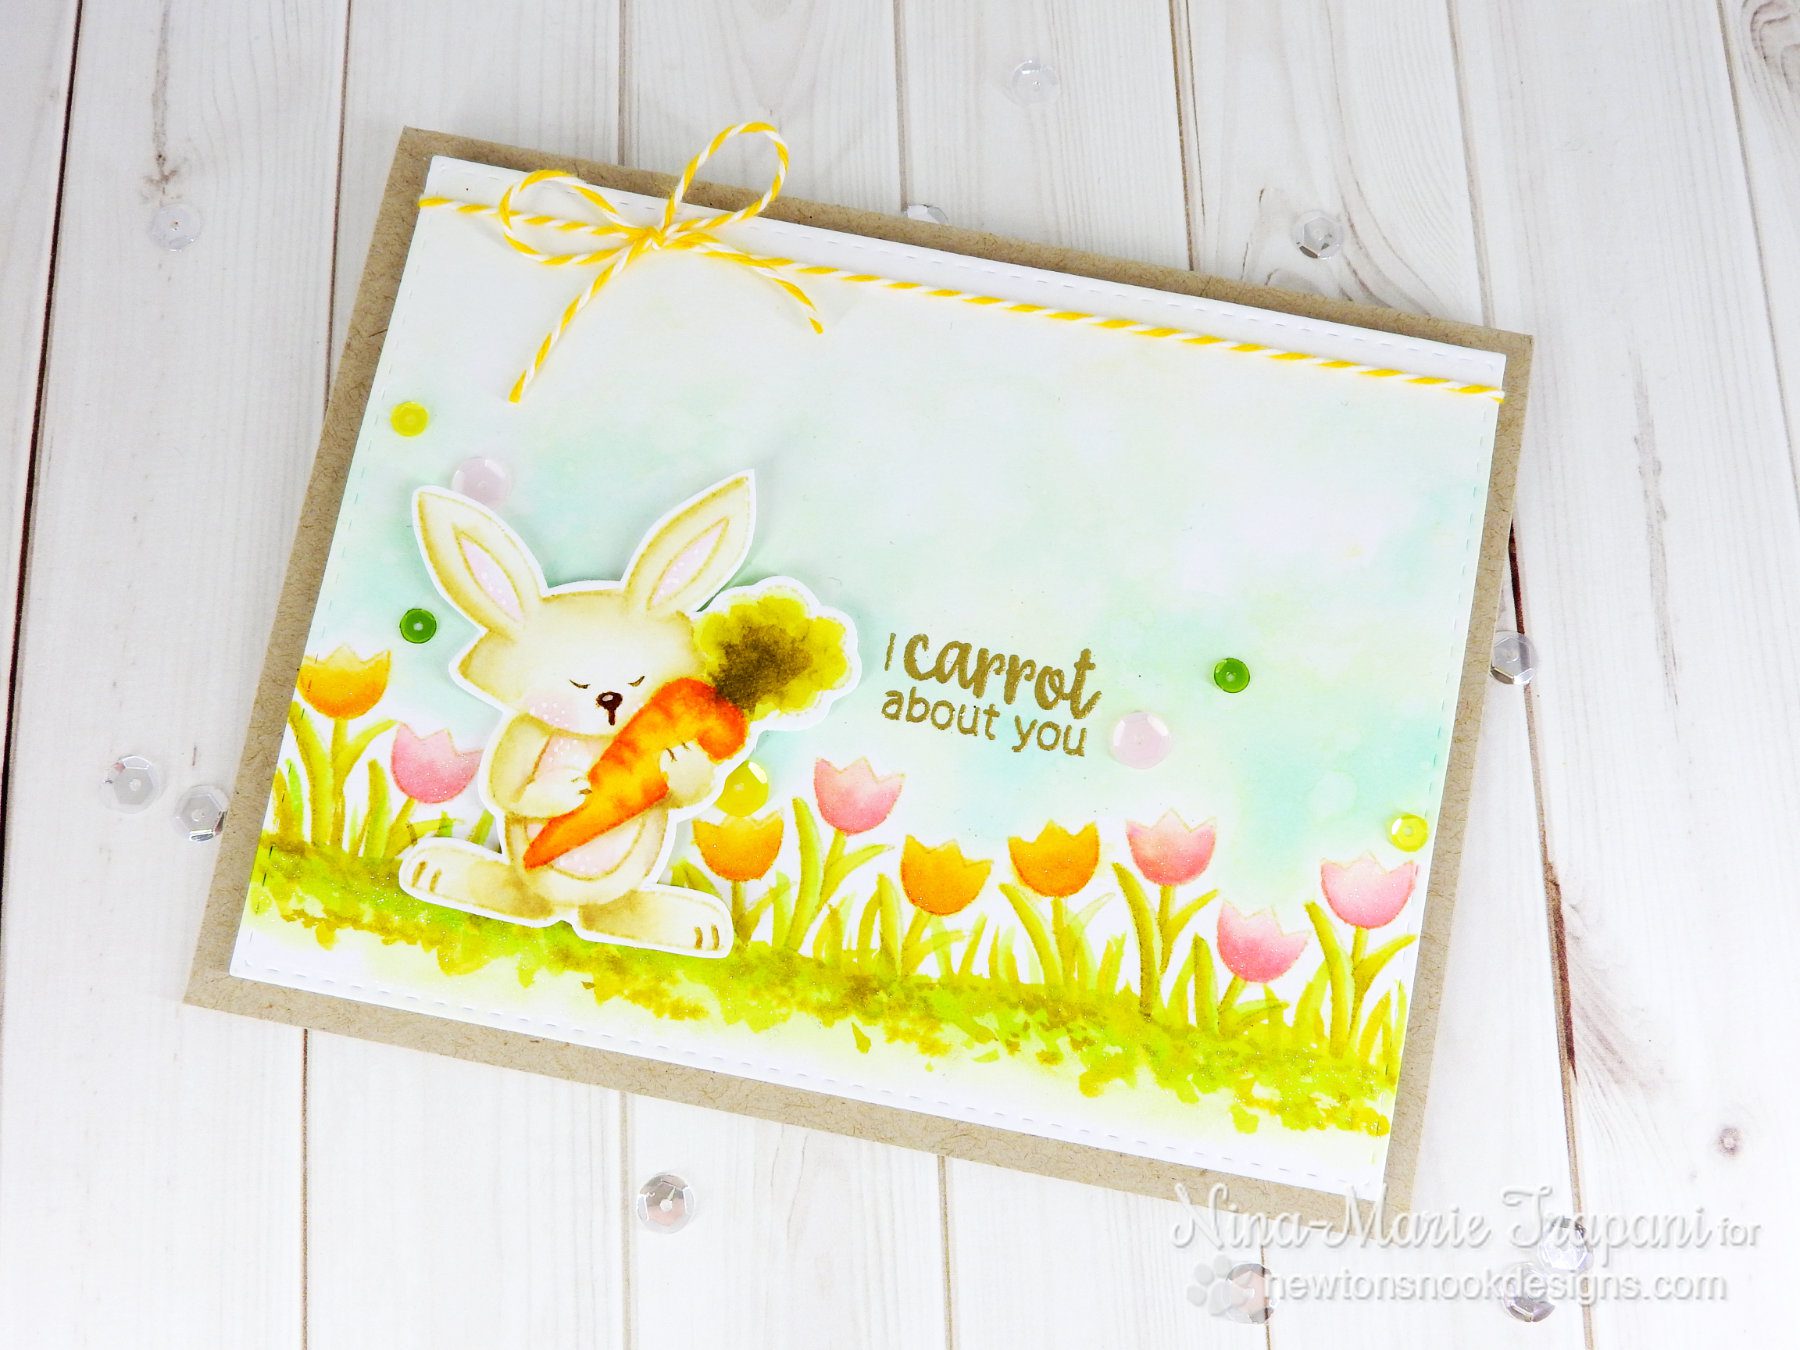
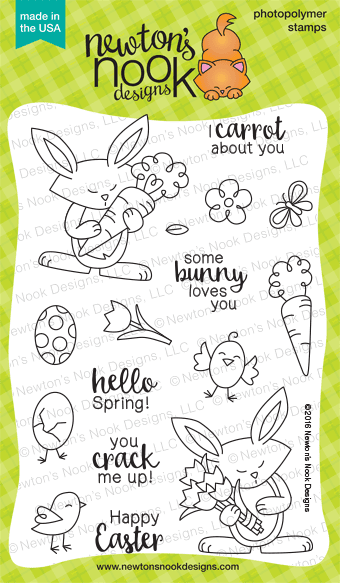
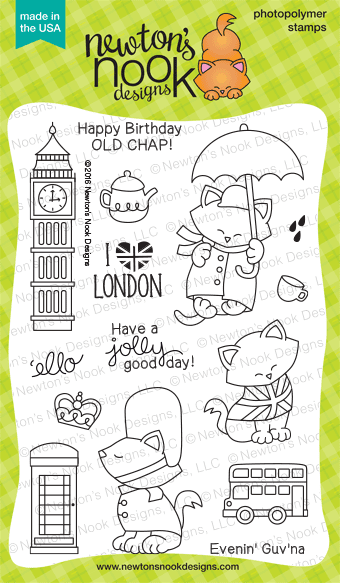
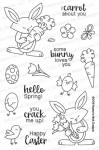
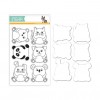
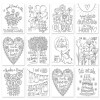
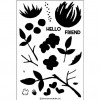
What should Newton’s Nook Designs name their bunny character? This cute bunny has appeared on six different stamp sets – as a cheerleader, in a hula skirt, buried in snow and more! Now she needs a name!

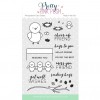
With the help of their design team and friends they’ve chosen some favorite names but now they need your help. Check out this poll and vote for your favorite name.  Plus – two random winners will be chosen from all the votes to WIN the new 4 x 6 Hello Spring stamp set featuring the bunny! You can vote once a day – until Sunday, March 14th! Winners will be announced on Tuesday, March 15th with the reveal of the new Hello Spring stamp set!

Head over to our poll to vote – enter here – and share with your friends too!


PRODUCTS

If you are interested in any of the products used in this post, I have them all linked below to Simon Says Stamp. Affiliate links used when possible.


Newton’s Nook Reveal Day #1

$
0
0

Hello everyone, thanks so much for stopping by today! Today is the beginning of the Newton’s Nook March release week and you are going to love the new stamps and dies that are going to be revealed over the next few days!

Release_IconMarch16

Today we are revealing the new Hello Spring stamp set, which I am totally in love with. The images in this set are beyond cute and I adore the bunny holding the carrot, which is what I used for my card today.

And before I get into today’s card; did you know we now have a name for the bunny that has been featured many times in Newton’s Nook stamp sets? Head on over to the Newton’s Nook blog to find out the name, which is being revealed today!

Newton's Nook Reveal #1_1

I used Tim Holtz distress inks to watercolor this card and started by stamping the bunny holding a carrot onto watercolor paper with Antique Linen. All of my initial stamping was done with Antique Linen, as this let’s me create a “no-line” effect. All of the colors I used to watercolor this card are broken down at the bottom of the post and linked to Simon Says Stamp in the products section further down.

After coloring the bunny and carrot I then fussy cut them out so I could pop it off my card. The tulips in the background were stamped onto a watercolor panel that I cut with a Simon Says Stamp Stitched Rectangle die; the tulips, grass and  sky were all watercolored with distress inks as well.

Newton's Nook Reveal #1_2

To finish off the card, I heat embossed a cute sentiment with gold embossing powder and scattered a few sequins from Pretty Pink Posh around the scene.  Finally, I popped the panel up off of a Desert Storm cardstock card base.

For those of you interested in the ink colors I used for this card, I have them broken down here:

  • Bunny: Antique Linen, Gathered Twigs, Victorian Velvet
  • Carrot: Carved Pumpkin, Barn Door, Twisted Citron, Crushed Olive
  • Tulips: Wild Honey, Scattered Straw, Spun Sugar, Worn Lipstick
  • Grass: Crushed Olive, Twisted Citron
  • Sky: Cracked Pistachio


KEEP HOPPING & A GIVEAWAY

160302_HelloSpring_PKG

Would you like to win the “Hello Spring” Stamp Set? This set will be given away to ONE lucky winner! Here’s how to win:

Comment on the Newton’s Nook Designs blog and Design Team blogs (see list below)! The winner will be chosen at random from the collective blog release posts. Make sure to check out each of their blogs and comment for your chance to win. You will not know which blog has been chosen so the more you comment on the better your chances are of winning!

You have until Thursday, March 17th at 9pm CST to comment  — winners will be announced on Newton’s Nook Designs blog post on Friday, March 18th.

Check out all the awesome Design Team Blogs below to enter:

Newton’s Nook Designs
Lydia Evans
Larissa Heskett
Samantha Mann
Crafty Math-Chick
Jess Gerstner
Stephanie Muzzulin
Danielle Pandeline
Nina-Marie Trapani… that’s me! :)
Kimberly Rendino
Yukari Yoshioka
Kelly Latevola – Guest Designer


MORE INSPIRATION

Looking for more scene card inspiration? They are one of my favorite card types to make, and I’ve got some of my most recent scene cards linked below for you to check out! Click on the photo to be taken to the corresponding post.

Watercolor Critters_2
Colored Vellum Shaker_2
Copic Colored Scene_2


PRODUCTS

If you are interested in any of the products used in this post, I have them all linked below to Simon Says Stamp. Affiliate links used when possible.

Newton’s Nook Reveal Day #3

$
0
0

Hello and Happy Thursday! I’m so happy you’ve stopped by for today’s reveal of the Newton Dreams of London stamp and dies, which are part of the new March release from Newton’s Nook Designs!

Release_IconMarch16

This set is so super adorable and is one of my current favorites in my Newton’s Nook stamp collection. The images in this set are beyond cute and I love how you can easily create fun scenes with many of the images in the set, like I did for today’s card. When I first saw this set, I knew I wanted to create a nighttime scene and use the image of Newton with an umbrella somewhere on the card.

Newton's Nook Reveal Day #3_2

I started off by stamping all the images I wanted to use from the Newton Dreams of London set onto white cardstock. I then began coloring everything with Copics, and I have all the colors used listed out for you below; they are also linked over to Simon Says Stamp down in the products section of this post for easy reference.

  • Newton: E50, E30, E31, E35, E57, RV000, RV10 (body); YG95, YG97, YG99, YG31, R45, R59 (coat and scarf); Y28, E81, E87, C1, C3, C5, C7, E57, E29 (umbrella)
  • Bus: R46, R59, RV99, C3, C5, C7, BG0000, BG01
  • Phone Booth: R46, R59, RV99, T6, T8, T10, BG0000, BG01, E50, E30
  • Big Ben: Y28, E81, E87, C1, C3, C5

Newton's Nook Reveal Day #3_3

I then did a bunch of ink blending using distress inks for the sky, moon, road and grass around my scene.  I also added Pretty Pink Posh mini silver star confetti around the sky, and I love how shimmery this makes the sky look.


KEEP HOPPING & A GIVEAWAY

160301_NewtonDreamsofLondon_PKG

Would you like to win the “Newton Dreams of London” Stamp Set? This set will be given away to ONE lucky winner! Here’s how to win:

Comment on the Newton’s Nook Designs blog and Design Team blogs (see list below)! The winner will be chosen at random from the collective blog release posts. Make sure to check out each of their blogs and comment for your chance to win. You will not know which blog has been chosen so the more you comment on the better your chances are of winning!

You have until Thursday, March 17th at 9pm CST to comment  — winners will be announced on Newton’s Nook Designs blog post on Friday, March 18th.

Check out all the awesome Design Team Blogs below to enter:

Newton’s Nook Designs
Lydia Evans
Larissa Heskett
Samantha Mann
Crafty Math-Chick
Jess Gerstner
Stephanie Muzzulin
Danielle Pandeline
Nina-Marie Trapani… that’s me! :)
Kimberly Rendino
Yukari Yoshioka
Kelly Latevola – Guest Designer


MORE INSPIRATION

If you enjoyed today’s card, here are a few more of my recent scene cards you might be interested in! Click on the photos to be taken to the corresponding post.

Newton's Nook Reveal #1_3
Spotlight & Full Width Scene Cards_1
Layered Scene_3

PRODUCTS

If you are interested in any of the products used in this post, I have them all linked below to Simon Says Stamp. Affiliate links used when possible.

Half Circle Window Scene + Easter Week with Pretty Pink Posh

$
0
0

Well hello there everyone and a Happy Friday to you all! I am popping in to let you know that I am over on the Pretty Pink Posh blog today sharing a fun window scene card (and video) for the Easter Theme week that has been going on over the past few days.

The card I am sharing on the Pretty Pink Posh blog features a half circle window, which I created using the new Window Frames dies (from Pretty Pink Posh). To see how I created the card, you’ll want to pop on over to watch the video! Here’s a sneak peek of what you’ll find:

Easter Week_Nina-Marie_4

I hope I’ll be seeing you over on the Pretty Pink Posh blog… If you are interested in any of the products I’ve used, I have them linked below for your convenience.

And before you go, here’s another scene card I have up on my blog today featuring stamps from Sunny Studio Stamps! There is a video to go with it, so you might want to head on over to the post to check it out!

Creating an Outdoor Scene_2

Thanks so much for stopping by and spending some time with me… Happy Creating! :)


PRODUCTS

If you are interested in any of the products used in this post, I have them all linked below to Simon Says Stamp. Affiliate links used when possible.

Ink Swatching with Mini Tag Dies

$
0
0

Hi everyone! I’m popping in today to let you know that I am over on the Pretty Pink Posh blog with a organizational video!

In today’s video, I’ll be showing how you can use the Pretty Pink Posh Mini Tag dies to create ink swatch tag rings that will allow you to keep colors organized and look stylish at the same time!  Here’s a sneak peek of what you’ll find…

12476361_10154024510464105_1701426290_n

Plus there is more! Pretty Pink Posh is generously giving away a Mini Misti and a Mini Tag Die set to one lucky winner! Head on over to the Pretty Pink Posh blog for more details and to enter into the giveaway!  I hope you’ll stop by to check out the video too…  Thanks for stopping by and spending some time with me. Happy Creating! :)


PRODUCTS

If you are interested in any of the products used in this post, I have them all linked below to Simon Says Stamp. Affiliate links used when possible.

My Favorites of March 2016

$
0
0

Hello there everyone! I’m stopping by today with a different type of post for you; the first of my new series called My Favorites. I’m going to be highlighting all my favorite products and supplies (some new, some oldies) that I loved and used during the month of March!

STAMPS

There were so many stamp sets I used this month, but these are some of my most-loved.

  1. The Handmade from Me stamp set from Whimsy Stamps (top row) is not only perfect for stamping cute sentiments on cards, but also makes it super easy to stamp extra special touches and greetings on envelopes and the backside of your cards!
  2. Newton Dreams of London is absolutely darling (top row)! The fun images in this set make me smile and I cannot get enough of the adorable Newton hanging from an umbrella… TOO CUTE!
  3. Neat and Tangled came out with lots of really great stamp sets during their March release. My favorites however were the Purrfect and Scandinavian Prints stamp sets (middle row). Cats are a soft spot for me, so of course that immediately became an instant fave; I love too how the price point is a bit lower than normal sets because it is smaller. The Scandinavian Prints stamp set is also great because you can build tons of custom patterns and flower groupings with just this single set. A good sentiment is also an eye catcher for me, and the ones included in Scandinavian Prints are really unique.
  4. One of the most used cards for me are thank you’s and the Reverse Confetti Butterfly Dreams stamp set (middle row) evokes a great whimsical feel that I really love. The sentiments inside the silhouetted butterflies are beautifully done and I’ve been using the Kindness Matters, Thank You sentiment like crazy lately!Watercolor Gift Card Envelopes_3
  5. The cutest stamp set of March for me was the Cute Chicks set from Simon Says Stamp. The little chick inside the egg absolutely cracks me up. I mean, seriously; who can’t help but laugh at how funny that poor cutie looks wobbling around inside his egg?


DIES

Dies are not only versatile for cutting out stamped images, but also a fun way to create so many unique effects on your cards! Here are some of my current go-to dies…

  1. The Handstitched Nested Rectangles dies from Whimsy Stamps (top row) are a great way to die cut panels for your cards with a more “handmade” feel. I love the fun, uneven lines of the stitching on these dies. For more selective stitching details, I love using the My Favorite Things Basic Stitch Lines die set; the price point is pretty good too compared to large, shape cutting die sets. For crafters on a budget, you could buy stitched border dies like the Basic Stitch Lines and die cut the stitching detail into paper you’ve cut down with your paper trimmer.
  2. The felt die cutting trend is HUGE right now and Simon Says Stamp came out with a large collection of Spring Plush dies for their March release. The Springtime Chick (top row) is my absolute favorite and I love how they can still be used with paper for those that aren’t into the felt craze.Colored Vellum Shaker_2
  3. Pretty Pink Posh is known for their unique die sets, and the new Window Frames dies (bottom row) are awesome! I love how there is the added stitching detail along the edges of both the inside and outside cut marks; it adds great finishing touches to your die cut shapes, which I am a huge fan of!
  4. Scene cards are something I make often and I love having dies that I can use to create supporting elements. My current favorites that I can’t stop using are the Pretty Pink Posh Picket Fence and My Favorite Things Grassy Hills dies. These are both from past releases but still my go-to’s for many of the scenes I create!Easter Week_Nina-Marie_4


TOOLS & EMBELLISHMENTS

Some of the most important items on my desk are tools, because tools are what help you make your creations go to the next level. Here are the tools I have been using heavily in my craft room this month…

  1. I have been doing a lot of distress ink techniques and the Perfect Pearls by Ranger (top row) are a fun way to add easy shimmer and shine to your distress inking. I just mix a little bit of the Perfect Pearls with some water in a misting/spray bottle, shake it up and I have a custom made shimmer spray! The subtle glitzy glimmer of the Perfect Pearls are a great way to take your distress inking up a notch. And speaking of shimmer, I cannot get enough of my Wink of Stella clear glitter brush (middle row)! :) Mini Note_4
  2. For stamping, my must-have tools are the new Mini MISTI (middle row) and the Lawn Fawn Stamp Shammy (top row). The Mini MISTI is perfect for just about every stamping need (other than stamps larger than 5 inches, such as 6×6 cling background stamps). I use my Mini MISTI on just about every card I make and I love the convenience of  being able to re-stamp something if it did not stamp cleanly the first time. And the Lawn Fawn Stamp Shammy is a great alternative to baby wipes, and more cost effective. I have been using the Shammy exclusively and stopped using baby wipes for the majority of my crafting; I only keep a small stash handy for special reasons.
  3. The We R Memory Keepers 1-2-3 Punch Board has been really handy for me! I used to have the Envelope Punch Board, but switched over to the 1-2-3 Punch Board because of it’s versatility. With this board you can make everything from envelopes (see this post) to boxes (see this post) and bows! I make a lot of envelopes for my cards, so this feature of the board is the most used. However, when I need a special box or bow, I can simply pull out this same Punch Board to do everything, rather than having three separate boards laying around. No Line Watercolor Scene + Matching Envelope_1
  4. Adhesives are something I get lots of questions on; my go-to adhesives lately have been PPA Matte Adhesive by ArtQuest and Kool Tak clear dimensional tape. I prefer the PPA over other adhesives for a couple of reasons. One, it’s more cost effective for me to purchase the large bottle of PPA than the small bottles of the other glues on the market. Secondly, I find that the PPA seems to have better bonding than other adhesives I have tried (including Ranger’s Multi Matte Medium). I have been using PPA exclusively for almost a year and have been pleased with its durability and performance. The Kool Tak tape is perfect for popping vellum up for dimension. Vellum can be a bit tricky to find the right adhesive for; however, the Kool Tak tape is pretty much invisible under the vellum and provides a nice, dimensional effect for your cards! Spotlight & Full Width Scene Cards_6


INKS, PAINTS, PENS & MARKERS

Finally, let’s look at inks, paints, pens and markers… Like most of you I’m sure, I have a large selection of these mediums but there are a few that I have been using a lot more than others this month.

  1. Prior to finding the Simon Says Stamp Intense Black ink (top row) in January, I was using Memento’s Tuxedo Black ink for all my Copic-friendly stamping needs. However, I was never fully pleased with the grayish tint of the Memento ink. It stamped nice but I love crisp, black lines. The Simon Says Stamp Intense Black ink is a new product for 2016 and I have been using this ink exclusively since it was debuted. I love the rich, bold color tone and it even works beautifully with watercoloring (see this post here). Combining Stamp Sets_3
  2. The new Hero Arts Bold inks (top row) have quickly become a favorite of mine! Hero Arts has always been known for their beautiful ink colors and the Bold ink pad collection is just as impressive! I have been using the Moss and Green Apple inks a lot this month.
  3. Altenew is another stamp company that has their own ink line and I really love their Crisp Dye inks. I’ve been reaching for their Cotton Candy and Frosty Pink inks (second row) all month long in a variety of projects. Altenew also just came out with a bunch more colors to add to the collection and I’m excited to get some more of them for my stash!
  4. I use distress inks of many of my cards, but have been using Crushed Olive, Cracked Pistachio and Squeezed Lemonade (second row) on a lot of my cards lately. I love the bright, yellowy tone of Crushed Olive and because teal is my favorite color, Cracked Pistachio is my go-to for anything turquoise colored. For a happy yellow, the intense, neon-like hue of Squeezed Lemonade is super fun! Confetti Shaker_2
  5. Some small items that I have been using lately are the Tombow Sand Eraser, Signo white gel pen, and Pentel Aquash waterbrushes (third row). The sand eraser is great for getting rid of ink marks or fingerprints; I love being able to fix little mistakes like that rather than having to start all over again. In all my coloring – whether it is Copic or watercolor – I love adding white details with my Signo white pen; it’s super opaque and also great for cleaning up coloring that goes outside the lines (yes, it happens to all of us more often then you’d think!). For paintbrushes, I have been enjoying the Pentel Aquash waterbrushes; I use them empty most of the time because I like to control how much water is being used. I love the fine tip end on all three these round brushes since I am usually coloring in stamped images that oftentimes have small areas.His & Her_14
  6. My final favorite for March is the Prima Watercolor Confections sets; these watercolor paints are very vibrant and are new for 2016. They come in three, 12-color collections; the Classics (primary colors; last row), Tropicals (royal-jewel tones; last row) and Decadent Pies (natural, earthy hues; third row). They have a slightly chalkiness to them if you use less water, but they blend nicely. They come in tins that have mixing wells built in, which make them great for on-the-go painting. The price point is inexpensive making it great for novice to intermediate watercolor artists.


I hope my March Favorites have been helpful to you! Thanks so much for stopping by and spending some time with me… I’ll see you tomorrow for a project I have featuring Newton’s Nook Designs stamps. Happy Creating!


*Disclaimer: I was not asked by any companies to review and share the favorite products I’ve included in this post. All opinions are my own and the intention of this post is to share my thoughts on favorite products I personally use.

Storybook Style Watercolor + Whimsy Stamps Reveal #1

$
0
0

Well hello everyone, thanks so much for joining me for day one of the Whimsy Stamps April release! I’m so excited to be able to share my newest stamps and dies with you, as well as inspiration on how to use them!

share badge april 2016

Today’s reveal showcases the cute Baby Animals stamps and coordinating dies. I love critters and creating this set was a lot of fun for me! This set works perfect for a variety of baby themed cards, and even cards for the expecting parents-to-be!

Baby Animals_6

In my card I’ve used the little giraffe and created a “storybook” feel with watercolors, which makes this little guy look even cuter. I used Prima’s Watercolor Confections Decadent Pies paint set for the majority of the coloring; this set has 12 colors in it, all with in neutral, earthy tones. For additional shading and texture, I used Derwent watercolor pencils.

Storybook style coloring is captured in the imperfect, hard lines of the watercolors; earthy color tones help bring the classic, whimsical look to life… the charm is inside those little details!

Baby Animals_3

The panel my giraffe is sitting on was die cut using the Nested Handstitched Rectangles dies, which I designed for the March Whimsy Stamps release. I used Canson XL watercolor paper and all my stamping was done with Simon Says Stamp Intense Black ink.

I also wanted to share how I created my card base, as unfortunately my battery died on my camera as I was filming this card and I did not realize it until after I had created it… I made my card base from some more Canson XL paper and did some ink smooshing with Scattered Straw distress ink. To add some more interest to the watercolor look of the background, I took some Fossilized Amber distress ink and flicked on some splatters of color; this gave the watercoloring a more organic feel, which I really like.

Baby Animals_7

I love the look of ribbon on cards, especially for baby cards! The textured, yellow chevron ribbon from May Arts was a perfect embellishment for my card and I also scattered some Pretty Pink Posh Sparkling Clear sequins on as well.

So to see how I created this card, be sure to check out the video below, or over on my YouTube channel! If you enjoy, please give it a “thumbs up” and subscribe to my channel… I post new videos every week!


MORE INSPIRATION

Looking for more watercolor inspiration? Here are some more videos you might be interested in featuring watercoloring techniques! Click on the photos to be taken to the corresponding posts.

Watercolor Collage_4
No Line Watercolor Scene + Matching Envelope_7jpg
Watercolor Gift Card Envelopes_2


PRODUCTS

If you are interested in any of the products used in this post, I have them all linked below to Simon Says Stamp. Affiliate links used when possible.

Distress Ink Watercoloring + Whimsy Stamps Reveal #2

$
0
0

Well hello everyone and welcome back to day two of the Whimsy Stamps April release! Today we are showcasing my newest stamp set, Mom’s Layered Flowers. I’m using it in a distress ink watercolor technique to create a pretty Mother’s Day card.

share badge april 2016

When I was designing the Mom’s Layered Flowers set, I wanted to make sure it could be used year round for a variety of mom-themed cards. You can mix and match the sentiments to create custom greetings, and the florals can be stamped in a variety of ways to create pretty bouquets!

Mom's Layered Flowers_4

For this card I heat embossed the outline floral images onto watercolor paper; I love how the white outlines of the heat embossing make these flowers feel like the are painted in the no-line watercolor style.

Heat embossing your images rather then simple stamping is also a great way for new watercolorists to practice their coloring skills!  You don’t have worry about color bleeding into other areas because the heat embossed lines contain the watercolor into the areas inside the lines.

Mom's Layered Flowers_2

After watercoloring three flowers and a few leaves and stems, I fussy cut them each out using some precision tip Cutter Bee scissors; these are my favorite scissors for detail cutting.

I created the background by pouncing Evergreen Bough distress ink onto my watercolor paper and adding some water droplets for texture. I die cut the panel using a Whimsy Stamps Handstitched Rectangle die.

Mom's Layered Flowers_3

Using the sentiments from Mom’s Layered Flowers, “Mother” is gold heat embossed onto vellum and fussy cut out; I built the rest of the sentiment using Hero Arts Soft Granite shadow ink and a small white banner. I tucked the banner behind the flowers, which are popped up off the panel using foam tape.

To finish off my card, I matted the watercolor panel using gold foil paper and added a few Pretty Pink Posh Sparkling Clear sequins around as well.


MORE INSPIRATION

If you enjoyed this post, here are some more cards I’ve created that you might be interested in featuring stamps and dies from Whimsy Stamps! Click on the photos to be taken to the corresponding posts.

Baby Animals_1
Watercolor Critters_2
Clean & Simple Distress Stenciling + Whimsy Reveal #2 _4


PRODUCTS

If you are interested in any of the products used in this post, I have them all linked below to Simon Says Stamp. Affiliate links used when possible.


Faux Watercoloring Effect using Stamps

$
0
0

Hi there! So happy you are stopping by for a fun technique video I have for you featuring Altenew stamps and a way to create a faux watercolor look with your stamping!

031716_Video_Challenge_screen

I’m also excited to be posting this video as part of a guest feature for Altenew’s current Video Challenge! Each month they host a challenge over on their blog where they ask YOU to create a video showcasing their products. Entries will be judged at the end of the month and there are even prizes for the winners!

This is a really fun challenge that I have entered in at times in the past, and I encourage you to break out your Altenew products to create something for this challenge!

Faux Watercoloring Effect Using Stamps_5

For my card, I’ve chosen to use the Altenew Vintage Roses stamp set; this is an older stamp set of theirs, but I absolutely love it! I got it right after it first came out and have used it for many different projects (evidence of the staining on the stamps!). I also paired this up with the Birthday Greetings stamp set (also by Altenew), as the delicate script font on the “happy birthday” sentiment matched perfectly with the style of my card.

Faux Watercoloring Effect Using Stamps_2

I used distress inks to create my faux watercolor look, and I’m going to walk you through the step by step process in the video below! Be sure to give the video a “thumbs up” if you enjoy, and subscribe to my channel for more inspiration and technique videos… I post new content every week!


STAMP LAYERING

Stamp layering can be a bit daunting for those that are new to the technique; Altenew however offers guides for ALL of their stamp layering sets and you can find the guide for the Vintage Roses set here for reference. Photo courtesy Altenew.

Vintage_Roses_guide_grande
Vintage_Roses_leaves_grande


MORE INSPIRATION

If you enjoyed today’s card, here are a few more you might be interested in featuring watercoloring techniques! Click on the photos to be taken to the corresponding post.

Mom's Layered Flowers_1
Baby Animals_1
Watercolor Collage_2


PRODUCTS

If you are interested in any of the products used in this post, I have them all linked below to Simon Says Stamp. Affiliate links used when possible.

Baby Girl Shaker with the Fuse Tool

$
0
0

Hey everyone! Stopping by this morning to let you know that I am over on the Pretty Pink Posh blog today with a video tutorial showcasing the We R Memory Keepers Fuse tool!

In my video I’ll be sharing with you a close up look at the tool, as well as tips and tricks for using it to create shaker pockets; I’ll also walk you through the card I created with the shaker pocket! Here’s a sneak peek at what you’ll find over there…

Baby Girl Shaker Using Fuse Tool_3

Hope to see you over at the Pretty Pink Posh blog today!


PRODUCTS

If you are interested in any of the products used in this post, I have them all linked below to Simon Says Stamp. Affiliate links used when possible.

Retro Night Scene + Hop

$
0
0

Hi Everyone! Welcome back to my blog for another video tutorial that is part of a special blog hop celebrating the newest release from Simon Says Stamp!

MY-FAVORTIE-Hop

This April release is entitled “My Favorite” which is quite fitting because the new goodies that are part of this release are definitely some of my most favorite stamps and dies right now… and I think you’ll feel the same way when you see everything that has been released! If you’ve already been hopping along with us, you should have arrived from the blog of my sweet and wicked-awesome friend (she’s a true New Englander!) Jenn Shurkus!

Retro Night Scene + Hop_3

For my card, I have used the new Retro Thanks stamp and die set. When I saw this set, it immediately made me think of the Jetsons! I used to watch this show many, many times with my Pop-pop as a kid. We would watch old TV shows together like I Love Lucy, the Three Stooges, the Flintstones, Andy Griffith… the feel of this stamp set made me think of those times and I knew I had to make a card using these images!

If you’ve ever watched the Jetsons, which I am sure many of you have, everything is in a futuristic, space-like world with buildings suspended into the air on very tall poles. I wanted to create that effect with these signs and I’ll be showing you that in my video (down at the bottom of this post). I also used bright bold color schemes to go with the Jetsons/retro style.

This set is so much fun and brought back lots of fun, childhood memories for me! I hope you’ll check out the video I have for you showing how I created this card! If you enjoy, be sure to give the video a “thumbs up” on Youtube and subscribe to my channel for more weekly inspiration!


MY FAVORITE SIMON SAYS STAMP RELEASE

There are so many fabulous new goodies being released this month as part of the My Favorite Simon Says Stamp release! Yheck out the links below to find YOUR favorites! :)

KEEP HOPPING

MY-FAVORTIE-Hop

As I mentioned, this post and video are part of a fun blog hop for Simon Says Stamps’s My Favorite April release! There are giveaways been drawn from comments on each stop of the hop, so be sure to leave a comment on my blog, as well as on the blogs of the other talented ladies participating in the hop! If you’ve already been hopping with us, the next stop is Yoonsun Hur, my talented friend from across the pond! :) And if you are just joining in, the entire hop order is listed below!

Heather Ruwe
Jenn Shurkus 
Nina Marie Trapani … that’s me! :)


 MORE INSPIRATION

If you enjoyed this card, here are a couple more cards I’ve created that feature new My Favorite Simon Says Stamp stamps and dies! Click the photos to be taken to the corresponding blog posts.

Watercolor and Copics + Hop
Simon Says Stamp My Favorite Release Birthday Watercolor Card


PRODUCTS

If you are interested in any of the products used in this post, I have them all linked below to Simon Says Stamp. Affiliate links used when possible.

Stamp Layering Backgrounds

$
0
0

Hello everyone, welcome back to my crafty place! Today I have the pleasure of guesting with Concord and 9th once again and I have a stamp layering video tutorial to share with you that features their new Flourish stamp set, as well as their awesome Friend Like You die.

Stamp Layering Background_4

This Flourish stamp set from Concord and 9th is so much fun and also easy to use! Layering stamp sets can be a bit tricky for some people, depending on how detailed the images are. This set however is perfect for beginners and advanced stamp layering artists alike because of the clean, simplistic design of the images. The finished result is an impressionistic, artsy look which I love and I am thrilled with how these cards turned out!

Stamp Layering Background_5

I also really like how well the Flourish stamp set pairs with the Friend Like You die; the simple font in the Friend Like You die is perfect for matching up with pretty much any style of card. Having products in your craft stash that are versatile like the Friend Like You die is invaluable and lets you be able to get a lot more use out of them.

Stamp Layering Background_6

To see how I created this card, be sure to check out the video below or over on my YouTube channel! If you enjoy, please give it “thumbs up”  and subscribe to my channel for more weekly inspiration!


FREE STAMP SET WITH PURCHASE

IG_POST_large

All through the month of April, Concord & 9th has a special offer available to customers where you will receive the Love It. Mean It. stamp set free with your purchase of $60 or more! Be sure to check out the full details about the promotion here!


PRODUCTS

If you are interested in any of the products used in this post, I have them all linked below to Simon Says Stamp. Affiliate links used when possible.

Peek a Frame Card

$
0
0

Hey there everyone! I’m stopping by to let you know that I am over on the Pretty Pink Posh blog today with a fun peek-a-frame card to share with you featuring new stamps, dies and sequins from both Pretty Pink Posh and Simon Says Stamp!

Pretty Pink Posh has come out with a brand new Storybook 4 die and I LOVE how easily you can create fun cards using this die (as well as the other Storybook dies in her collection!). I wanted to have a bunch of critters peeking out from each window and the new Cuddly Critters stamp set by Simon Says Stamp was a perfect fit! Be sure to check out the card and video over on the Pretty Pink Posh blog… here’s a sneak peek of what you’ll find!

Peek a Frame Card_6


PRODUCTS

If you are interested in any of the products used in this post, I have them all linked below to Simon Says Stamp. Affiliate links used when possible.

Cuddly Critters for Mom

$
0
0

Hey there, I’m so glad you’ve popped by today! I’m over on the Simon Says Stamp blog with a brand new Studio Monday tutorial for you showcasing some of the newest stamps and dies from Simon Says Stamp!

If you follow my blog you know I love making scene cards; well today’s video on the Simon Says Stamp blog features a super cute scene, perfect for Mother’s Day and more! Here’s a sneak peek at what you’ll find…

Cuddle Critters for Mom_2

I hope you’ll be stopping by to check out the video! See you there! :)


PRODUCTS

If you are interested in any of the products used in this post, I have them all linked below to Simon Says Stamp. Affiliate links used when possible.

May Flowers Blog Hop

$
0
0

Hello everyone, I’m so happy you’ve stopped by today! Today is the Newton’s Nook Designs May Flowers blog hop and I am one of the stops. This hop features lots of fun flower themed projects and I’ve chosen to work with the Beautiful Wings stamp and die set for my card project.

NND_MayFlwrHop

I love the gorgeous images included in Beautiful Wings and I thought that the flower stamp would be perfect to create an ombre style background for my card. I started off by stamping the flower all over my white cardstock panel using four dye ink colors; Hot Mama, Teeny Bikini, Rosie Cheeks and Frosty Pink (ink colors are linked in the products section down at the bottom of this post).

May Flowers Blog Hop_3

I then took those same dye ink colors and an ink blending tool and sponged on the same colors over top of the areas that were stamped in that color. For example, where I stamped flowers in Hot Mama, I then sponged Hot Mama ink over top of that area. This creates a stunning tone-on-tone effect that is pretty quick to make! The background is die cut using a Whimsy Stamps Handstitched Rectangles die.

May Flowers Blog Hop_1

Once I had my background created I went to work on the butterflies (also from Beautiful Wings). I stamped them each in Distress Ink that coordinated with the dye inks I used (distress colors: Seedless Preserves, Worn Lipstick and Tattered Rose). With just some water and a paintbrush, I moved the ink of the stamped butterflies around to give a tone-on-tone effect. Afterward I then picked up just a small amount of ink off of a clear block with my paint brush and applied it to the portion of the wings that were closest to the body of the butterfly. Once they dried I die cut them using the coordinating Beautiful Wings die set.

May Flowers Blog Hop_2


My sentiment is created with two Newton’s Nook stamp sets; Simply Seasonal and Hoppy Days. The “happy” is white heat embossed and the other sentiments are stamped in just some black ink. To finish things off, I added a few sequins from Pretty Pink Posh around the butterflies and mounted my panel onto a white card base.


KEEP HOPPING & A GIVEAWAY!

Let’s have a giveaway! Want a chance to win a $20 store credit? We’re picking 2 lucky winners!

Here’s how to win: Comment on the NND blog and Design Team blogs (see list below)! TWO winners will be chosen at random from the collective blog hop posts. Make sure to check out each of their blogs and comment for your chance to win. You will not know which blog has been chosen so the more you comment on the better your chances are of winning! You have until Monday, May 9th at 9pm CDT to comment — winners will be announced on the NND blog on Tuesday, May 10th.


PRODUCTS

If you are interested in any of the products used in this post, I have them all linked below to Simon Says Stamp. Affiliate links used when possible.


Simple Scene + Whimsy Stamps Reveal #1

$
0
0

Hello everyone! Today is the brand new release of the newest stamps and dies from Whimsy Stamps! I’m excited to reveal my newest designs for Whimsy in this release, and today I’m showcasing the Playful Pups and Playful Pups Add On stamp sets, as well as the Hand Stitched Borders dies!

These two stamp sets were a lot of fun for me to design; while I’m a cat person myself, many of my friends are dog owners and/or lovers. I wanted to include a variety of dogs in this set and I ended up deciding on a dalmatian, a Jack Russel terrier and a corgi. Dalmatians were inspired by my sister and father who have loved fire trucks since they were kids. My aunt and uncle had many corgis when I was growing up and I remember how cute they were… that childhood memory inspired me to add them to this set. And the terrier was my other choice simply because I think they are cute! :D

Playful Pups_3

For this card I used the Dalmatian, the bunny friend (as well as a few other small images) that are in the Playful Pups set; the dog house is included in the Playful Pups Add On set. I colored all the images with Copics and I’ve got the colors listed below for easy reference.

Dalmatian:
bunny:
dog house:
toy:
food dish:

Once the images were trimmed out with fine tip scissors, I added them to a background panel; the panel is die cut using the Hand Stitched Rectangles dies from Whimsy Stamps and ink blended using Tumbled Glass and Twisted Citron distress inks. I stamped a sentiment from the Playful Pups stamp set using a couple of Hero Arts shadow inks.

My card base is created from white linen cardstock and I die cut stitching detail into it using the new Hand Stitched Borders dies; these dies cut only the stitching detail (not a shape), which is great for adding custom stitching in any place you want and makes them just as versatile as (if not more than) shape cutting dies!

Playful Pups_2

To finish things off, I added some Sparkling Clear sequins from Pretty Pink Posh around my images and a red twine bow across the top of the card.


MORE INSPIRATION

If you enjoyed this card, here are a few more cards featuring more of my Whimsy Stamps stamp and die designs! Click on the photos to be taken to the corresponding posts.

Watercolor and Copics + Hop
Handlettered Thoughts_1
Mom's Layered Flowers_2


GIVEAWAY

Today -and all week long – Whimsy Stamps has some amazing guest designers and design team members showcasing all the stamps and dies being revealed for this month’s release! Over the next few days, be sure to stop by here and the Whimsy Stamp blog for more inspiration and new reveals! Whimsy Stamps also has giveaways over at their blog, so be sure to stop by there to find out how you could have a chance to win some new goodies!


PRODUCTS

If you are interested in any of the products used in this post, I have them all linked below to Simon Says Stamp. Affiliate links used when possible.

Shaped Card + Whimsy Stamps Reveal #2

$
0
0

Hello there and Happy Tuesday! Welcome back to the second day of the Whimsy Stamps May release week! Today I am excited to share a cad with you that features some more of my newest stamps and dies that I designed for this release!

I love fun, “punny” sayings and this inspired me to create a stamp set of pun sentiments that matched up with cute images; this set is called Punny Messages. When I was creating this card, it was hard for me to decide which image/sentiment combo to choose because they are each adorable. In the end, I opted for the cuddling whales and the “I whaley like you” greeting.

Punny Messages_4

The whales are white heat embossed onto watercolor paper and I’ve colored them in with Tim Holtz Peacock Feathers and Worn Lipstick distress inks. I added water splatters to give their bodies a bit of texture, and then fussy cut them out.

My card base is created with the large, stitched heart die from my previously released Sketched Elephants die set; I simply die cut two pieces using white linen cardstock and adhered the top half together using some tape runner adhesive.

The pink watercolor background was created by ink smooshing some Worn Lipstick distress ink onto the linen cardstock. Normally I would use watercolor paper for this because regular cardstock cannot handle large amounts of water before it starts to break down. However, when using very little water, regular cardstock does give some fun results as you do watercoloring techniques over top; the key is to use small amounts of water, which is what I did here.

Punny Messages_1

My sentiment is stamped in black ink onto a white banner, and I added my whales on top of my card base using foam tape. For a final finishing touch, I added some Pretty Pink Posh Sparkling Clear and Ballerina Pink sequins around the whales and some Glossy Accents over top of the heart coming from the whales spout.

Punny Messages_3


GIVEAWAY

Today -and all week long – Whimsy Stamps has some amazing guest designers and design team members showcasing all the stamps and dies being revealed for this month’s release! Over the next few days, be sure to stop by here and the Whimsy Stamp blog for more inspiration and new reveals! Whimsy Stamps also has giveaways over at their blog, so be sure to stop by there to find out how you could have a chance to win some new goodies!


PRODUCTS

If you are interested in any of the products used in this post, I have them all linked below to Simon Says Stamp. Affiliate links used when possible.

Simon Says Stamp Dads and Grads Release

$
0
0

Hello there everyone! I’m super excited to be sharing with you a card featuring some of the newest stamps and dies from Simon Says Stamps latest mini release! This “Dads and Grads release features some really fun products that I think you will love as much as I do!

Dads and Grads 638x300


The Father’s Day Finds stamp set that is included in the release is perfect for Father’s Day of course, but I wanted to show you how you can stretch it’s use to be able to use it beyond the obvious! I paired the stamp set with a greeting from Simon’s Cuddly Critters Accessories stamp set (released last month) to create a birthday card for my very own dad, who’s birthday is right around the corner. :)

Dads and Grads Release_1

I stamped the little fish and fishing rod onto white cardstock using Audrey Blue and Stone dye inks (both from Simon); I then colored all the images with Copics and die cut them using the coordinating Father’s Day Finds dies. The Copic colors I used are listed below for reference:

  • fish: YG0000, YG21, YG23, G07, YR00, YR12, YG68, BG01, BG05
  • fishing rod: W3, W5, C1, C3

The fish of course needed to be swimming in some water, so I die cut some Simon Says Stamp Sea Glass cardstock using the Mama Elephant Ocean Waves Trio dies and blended on a bit of Peacock Feathers distress ink. To create texture, I then spritzed some water droplets onto the card using the Tim Holtz Distress Sprayer and covered the droplets with Glossy Accents. Doesn’t it really look wet???

Dads and Grads Release_4

I added a sunshine background by die cutting a circle using Simon’s Stitched Circle dies and Lemon Chiffon cardstock. My sentiments are stamped onto the circle as well and I added sun rays using a few yellow Copics (Y02, Y08, Y17).

To finish things off, I added a bit of “bubbles” using Pretty Pink Posh clear droplets and mounted the scene onto some white cardstock and a yellow striped card base.

Dads and Grads Release_2


MORE INSPIRATION

If you enjoyed this card, be sure to check out the card I have up on the Simon Says Stamp blog featuring the Father’s Day Finds stamp and die sets to create an underwater Father’s Day card! Here’s a sneak peek!

Underwater Father's Day Scene_2


PRODUCTS

If you are interested in any of the products used in this post, I have them all linked below to Simon Says Stamp. Affiliate links used when possible.

Pretty Pink Posh May Release Blog Hop

$
0
0

Well hello there and welcome to my stop along the Pretty Pink Posh May Release blog hop! If you have been hopping along with us already, you should have arrived from my sweet and talented Design Team member, Shannon McComb’s blog! But if you are just joining in, no worries! I have a complete list of the hop participants at the bottom of this post! :)

maybloghop

For my card today I have chosen to work with the new Stitched Essentials dies, as well as quite a few of the newest iridescent sequins! I have always loved the 6mm iridescent sequin collection Paulina has had in her shop for some time now, and was over-the-moon excited when she told me she was bringing them in as 4mm sized as well!!

Dimensional In Lay Die Cutting_1

I also have used a couple of Pretty Pink Posh’s adorable stamp sets in my card too; Rainy Days and Birdie Friends. I wanted to create a cloudy, rainy feeling sky to go with the umbrella and of course I turned to my distress inks for this because I love the way they mix and blend with water to make interesting effects and backgrounds.

Dimensional In Lay Die Cutting_5

For my background I used the ink smooshing technique, but you could also create the same type of effect using a paintbrush and water or ink blending. You could also substitute the distress inks for traditional watercolors or dye inks; you won’t get quite the same “water spot” effect as the distress inks gave me, but it will still look beautiful!

Dimensional In Lay Die Cutting_4

To see how I created this entire card from start to finish, be sure to check out the video below or over on my YouTube channel! If you enjoy, please give the video a “thumbs up” and subscribe to my channel… I create new videos every week!


A GIVEAWAY

maybloghop

Did you know Pretty Pink Posh is giving away TWO $25 gift certificates to two lucky commenters along today’s hop?? Leave a comment here on this post and on all the other posts in the hop to increase your chances of winning a fun shopping spree!

Winners will be picked randomly along the blog hop. Comments must be left by 11:59 PM PDT on 5/16/2016. Winners will be announced on the Pretty Pink Posh blog. 


KEEP HOPPING

There is lots of fun to be had! I’m just one of many stops in today’s product release blog hop for Pretty Pink Posh! Your next stop is the uber talented Vera Rhuhay! If you get lost along the way, here’s the complete hop list:


MORE INSPIRATION

If you enjoyed today’s post, be sure to check out my entire Pretty Pink Posh YouTube playlist over on my channel! I’ve got lots of fun video tutorials posted there that I’ve created using Pretty Pink Posh stamps, sequins and dies!


PRODUCTS

If you are interested in any of the products used in this post, I have them all linked below to Simon Says Stamp. Affiliate links used when possible.

Newton’s Nook Reveal Day #1

$
0
0

Welcome to the start of a brand new release week for Newton’s Nook Designs everyone! I am so happy you are here today, as I have a fun card to share with you featuring the new Happy Little Thoughts stamp set from Newton’s Nook Designs May release!

NND_MAY16_Release_Icon

I love the gorgeous wreath building images included in this set! I used the big flower wreath for my card and one of the beautiful sentiments included in the Happy Little Thoughts stamp set to create this cute card!

Happy Little Thoughts_1

To create this card, I stamped the wreath and bow onto white cardstock and colored them using simple Copic coloring. I then die cut each image out using the coordinating dies and popped them up off of an ink blended circle panel using foam tape. The circle panel is layered onto a vellum scallop circle.

Happy Little Thoughts_2

I added a sentiment from Happy Little Thoughts into the center of the wreath and created a square background using some peach card stock and some of the smallest images included in the Happy Little Thoughts stamp set (stamped with Rosie Cheeks dye ink).

As a finishing touch, I mounted everything onto a white card base and added a few Pretty Pink Posh Ballerina Pink (6mm), Lavender Moon (4mm) and Sparkling Clear (mix) sequins around the card front.


GIVEAWAY & KEEP HOPPING

Would you like to win the “Happy Little Thoughts” Stamp Set? This set will be given away to ONE lucky winner!


Here’s how to win:

Comment on the Newton’s Nook Designs blog and Design Team blogs (see list below)! The winner will be chosen at random from the collective blog release posts. Make sure to check out each of their blogs and comment for your chance to win.

You will not know which blog has been chosen so the more you comment on the better your chances are of winning! You have until Thursday, May 19th at 9pm CST to comment  — winners will be announced on the blog post on Friday, May 20th. 

Check out all the awesome Design Team Blogs below to enter:

Newton’s Nook Designs
Lydia Evans
Larissa Heskett
Samantha Mann
Crafty Math-Chick
Jess Gerstner
Stephanie Muzzulin
Danielle Pandeline
Nina-Marie Trapani
Kimberly Rendino
Yukari Yoshioka
Naki Rager – Guest Designer


MORE INSPIRATION

If you enjoyed today’s card, be sure to check out some of my other most recent flower-themed cards! Click on the photos to be taken to the corresponding blog posts.

May Flowers Blog Hop_4
Stamp Layering Background_5
Dimensional Stamp Layering


PRODUCTS

If you are interested in any of the products used in this post, I have them all linked below to Simon Says Stamp. Affiliate links used when possible.

Viewing all 123 articles
Browse latest View live


Latest Images